
Well it happened again. I said that it wouldn’t…and it did anyways. I got distracted with life for a while, and have been very negligent with my share of the blogging duties. My bad. I’d say that I won’t do it again…but I probably will. I’m a slacker like that.
At any rate…how are things on your end? How are the wife and kids doing? How’s that new lawnmower working for you? Did you ever get around to reading that one book I lent you? Did that rash ever clear up?
Okay. Enough with the small talk. Let’s talk some shop.
After months of planning, sketching and acquiring materials, we at Regular Guy Brewing have finally made some serious headway on a few pretty kickass brewery upgrades that will allow us to boost our brewing capacity up to 15 gallons per batch..or 1/2 a barrel, if you prefer to measure things using brewing volumes.
Needless to say, this is pretty awesome. While a 1/2 barrel system may not be even close to what the big boys brew on, the fact remains that many nanobrewers launched their careers with a system this size. It’s a big step in the right direction, and we couldn’t be any more giddy if we were 9 year old girls at a Justin Bieber concert.
Plus…and I may have to double check my math, but I am fairly certain that more beer per batch equals more beer to give away.
(This is the point where you should be getting very excited)
So without further adieu, let me tell you a little bit more about what we’ve been up to. Better yet…let me show you!
First off, here is our new kettle. It’s nothing fancy, just your run of the mill 100 qt aluminum stock pot but it will do the job quite well. I know it’s not stainless, but as I have expressed many times on this blog in the past, we are no stainless snobs. If aluminum does the job safely, efficiently and at a fraction of the price, the Regular Guys are not going to turn our noses up at it.
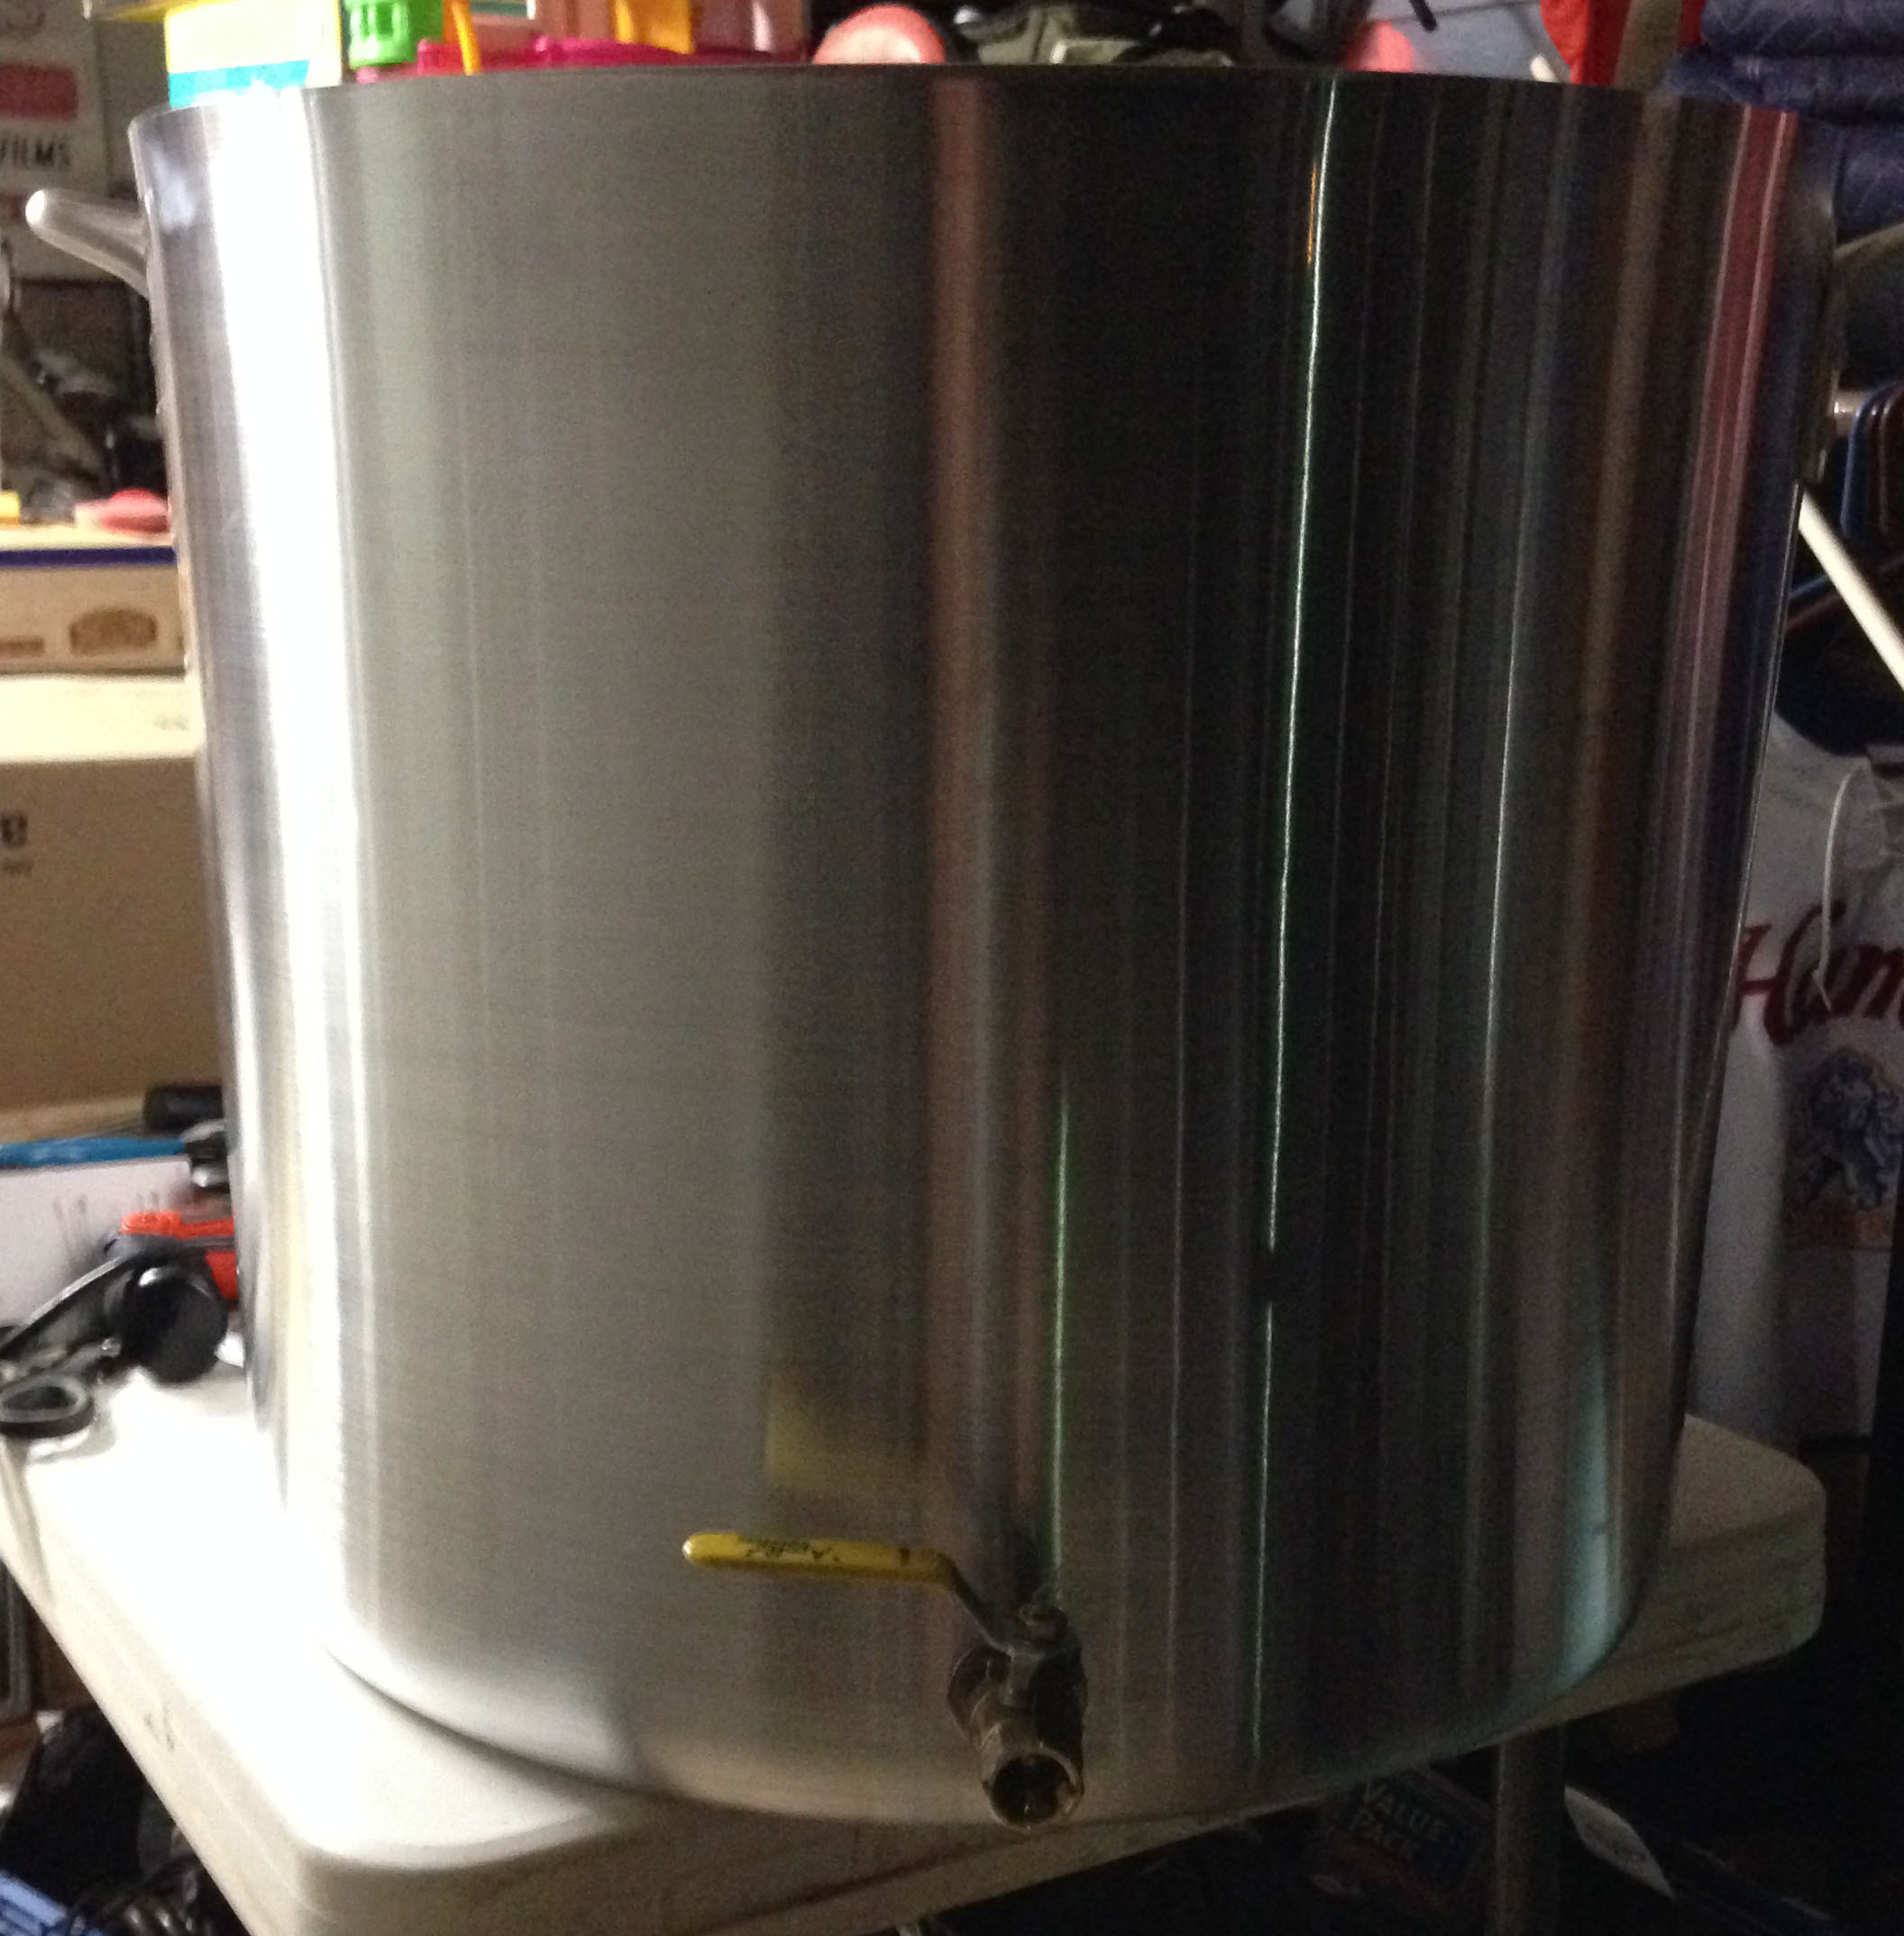
I didn’t take too many pictures of the kettle construction, since it came out of the box as a kettle already, and I just had to add a valve, but here it is in all it’s shiny grandeur. I am planning to add a few additional modifications to our kettle down the line, but for now, this is good enough for us to brew on and get a feel for. I will be sure to snap a few pics of those mods when I get to them.
But what good is a new kettle without a new mash tun?
Well?
Yeah, I got nuthin either.
So, let me walk you through the build out of our new MLT. Lots of pictures on this one.
First off, here is the pile of supplies that have been accruing over the last few months in preparation for this build:
We started off with a plastic barrel. We’ve been getting some pretty good mash efficiency with our orange Home Depot water cooler MLT, so I wanted something with a similar geometry but just a bit bigger. This barrel was perfect. It’s 20 gallons and made of high density polyethylene, which is food safe up to temperatures beyond the boiling point. While we won’t be boiling any water in this bad boy, it will be holding liquid and grain at temperatures up to 168 F, so high temp capabilities are a must if we are to brew tasty and chemical free beer.
This particular barrel was originally purchased to haul water from my house to Brian’s for brew nights before he figured out how to use his well pump. It served us very well for this purpose, other than getting a bit scuffed up rolling around in the bed of my truck. Since we didn’t have any more use for it, and it has just been collecting dust, we figured it would be a prime candidate for a new lot in life.
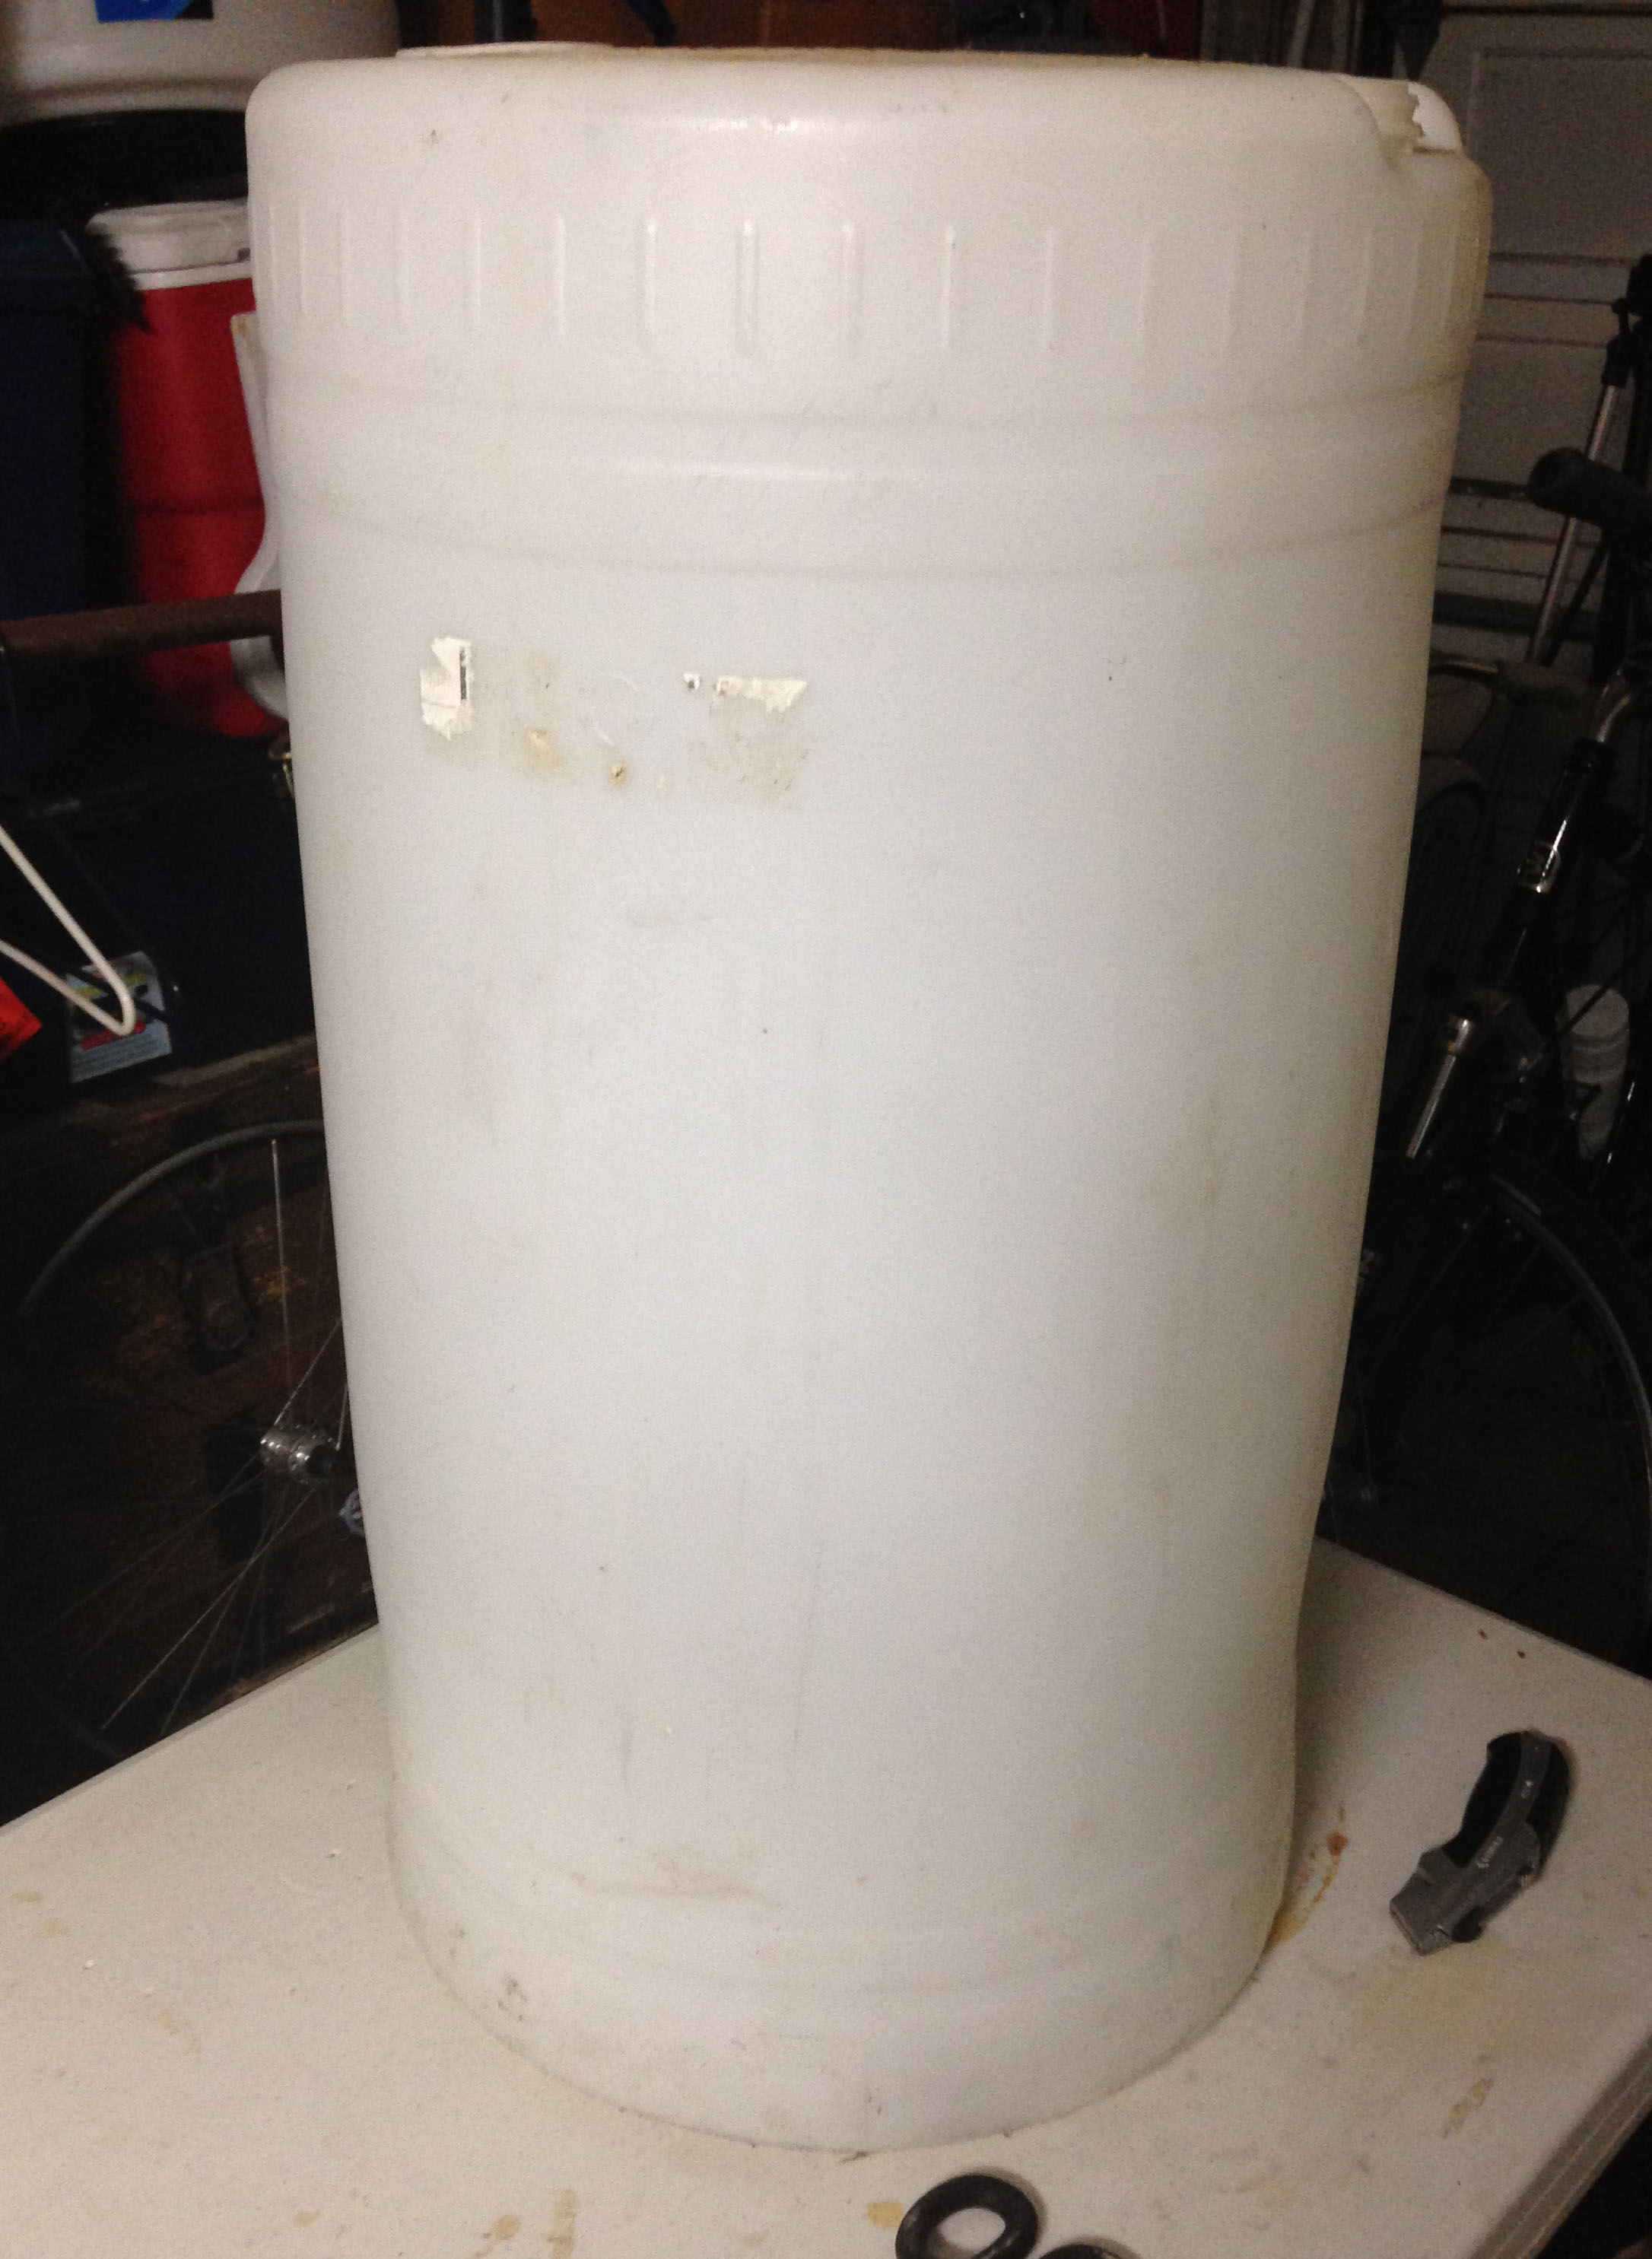
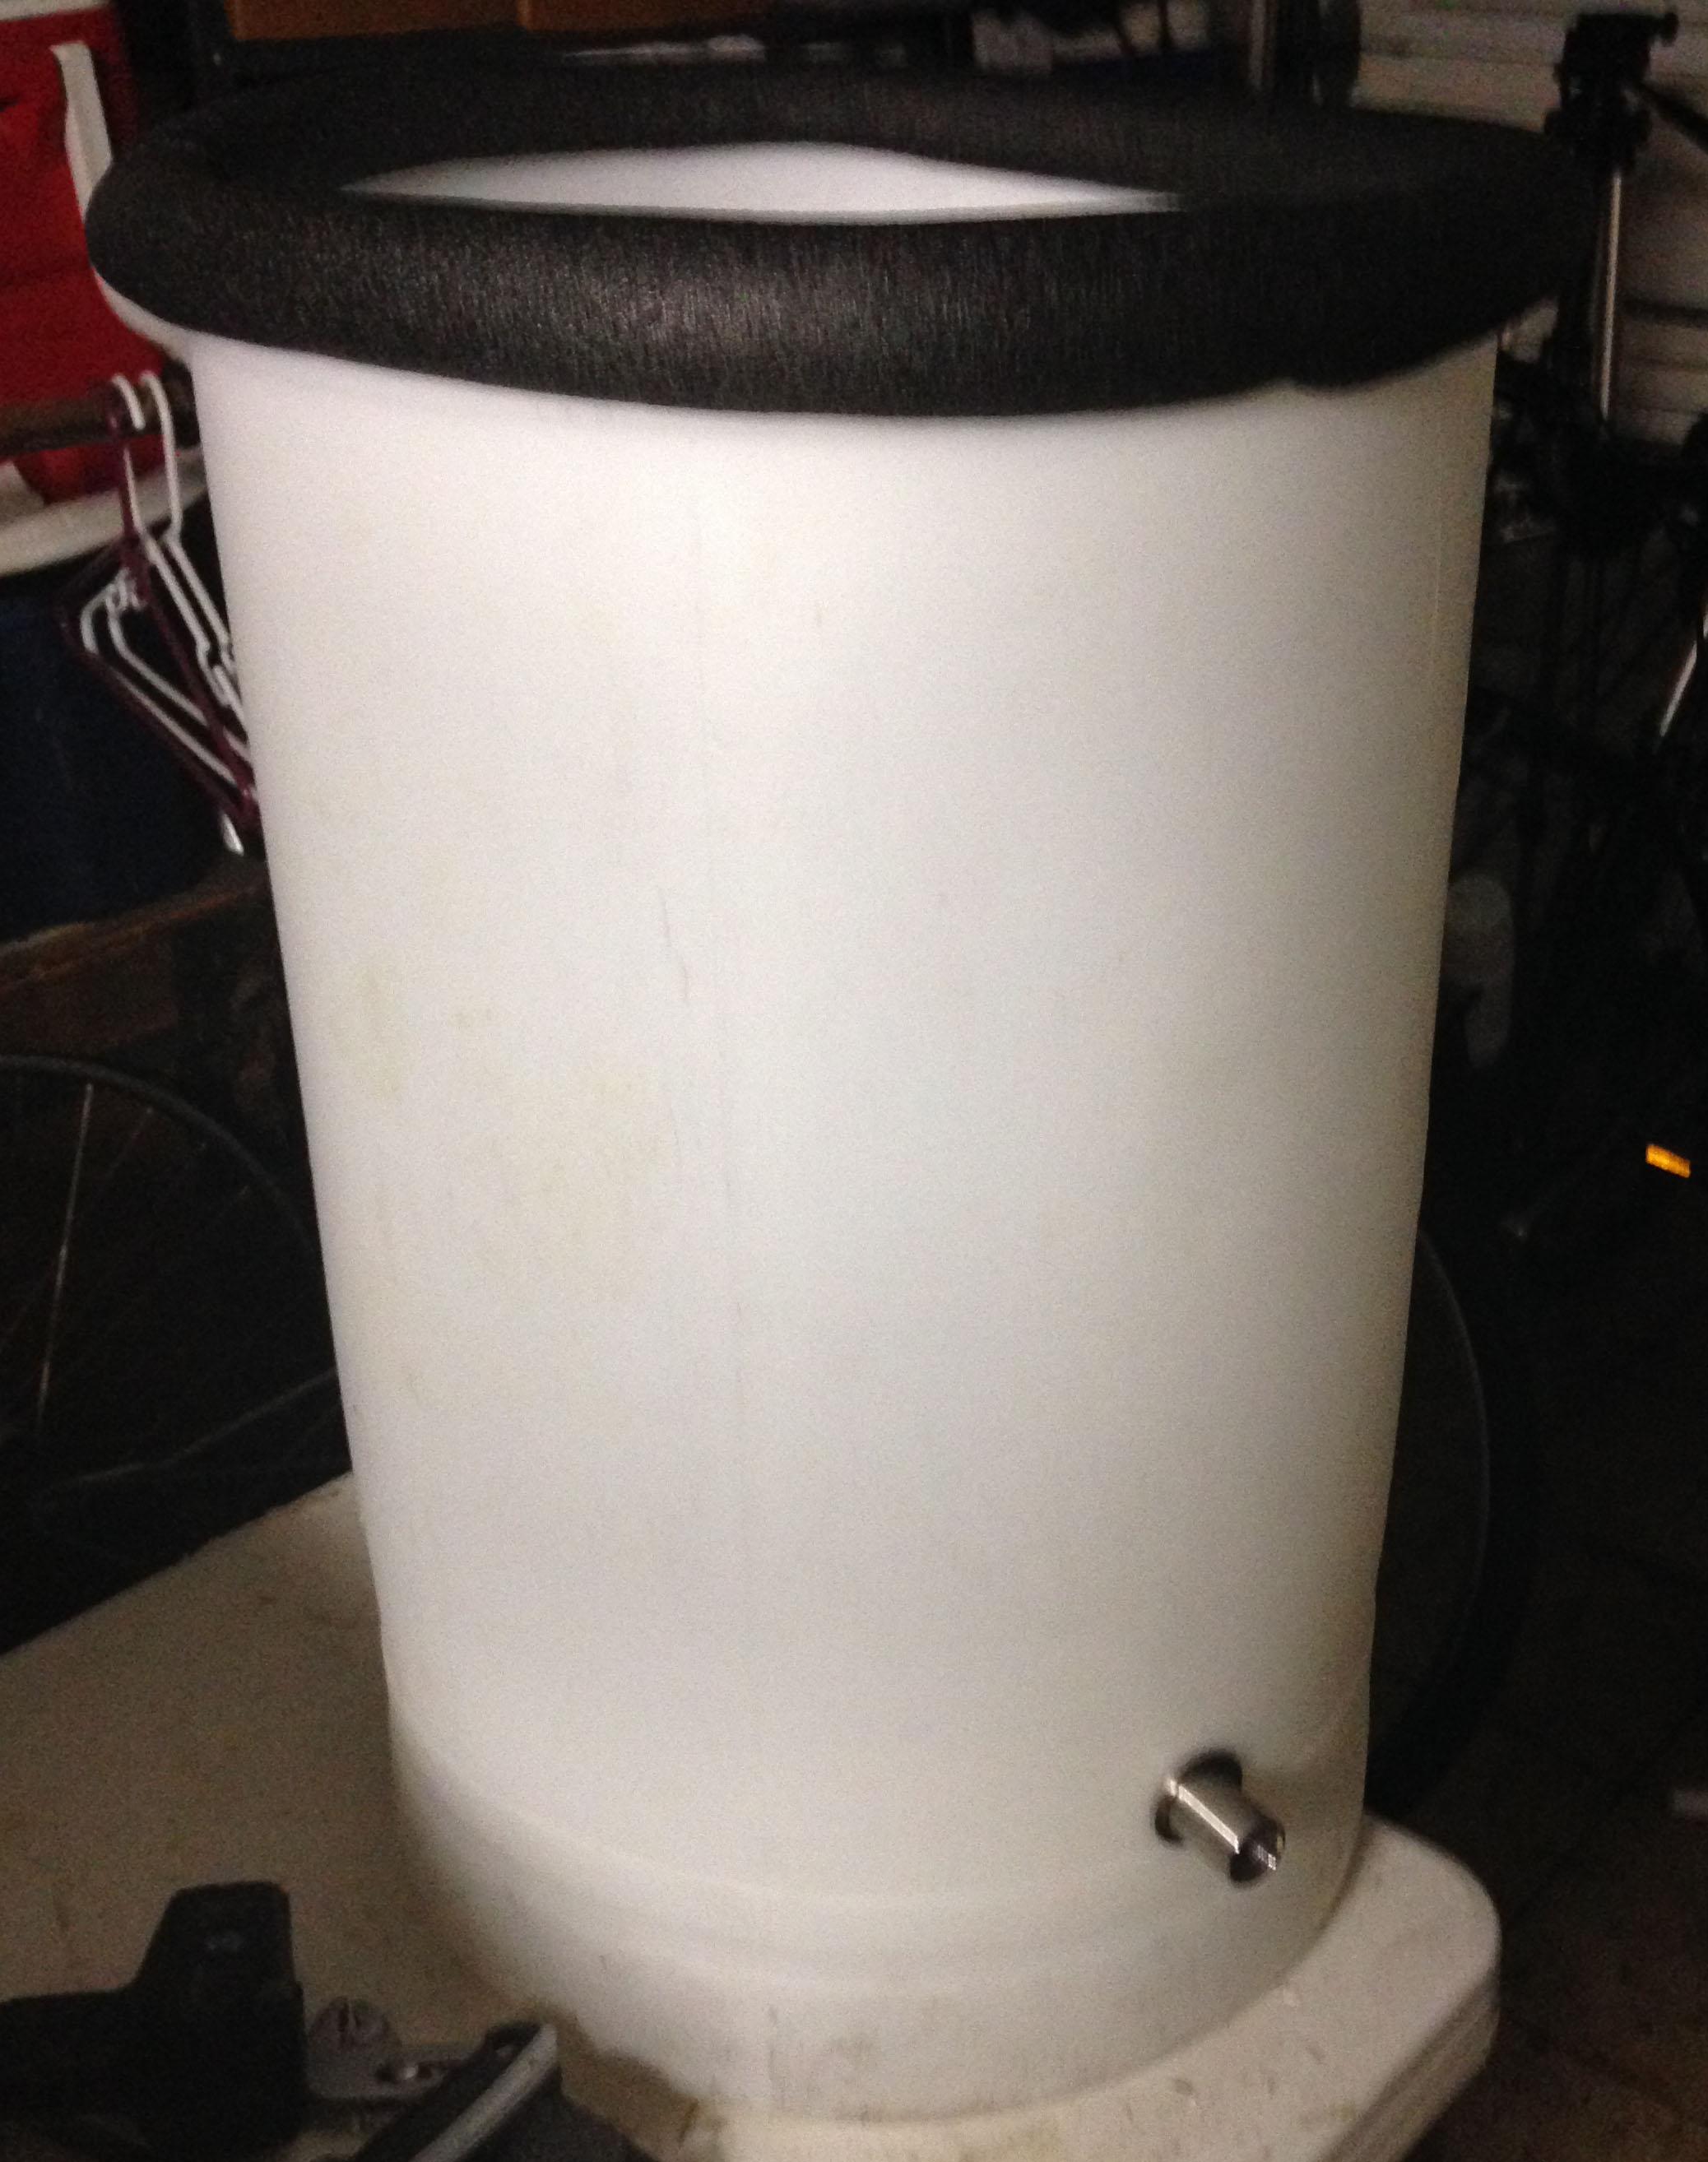
Here’s the barrel with it’s top cut off and with it’s first bulkhead installed. The foam at the top will be used to provide insulation between the barrel and the manufactured lid (which I will get to shortly).
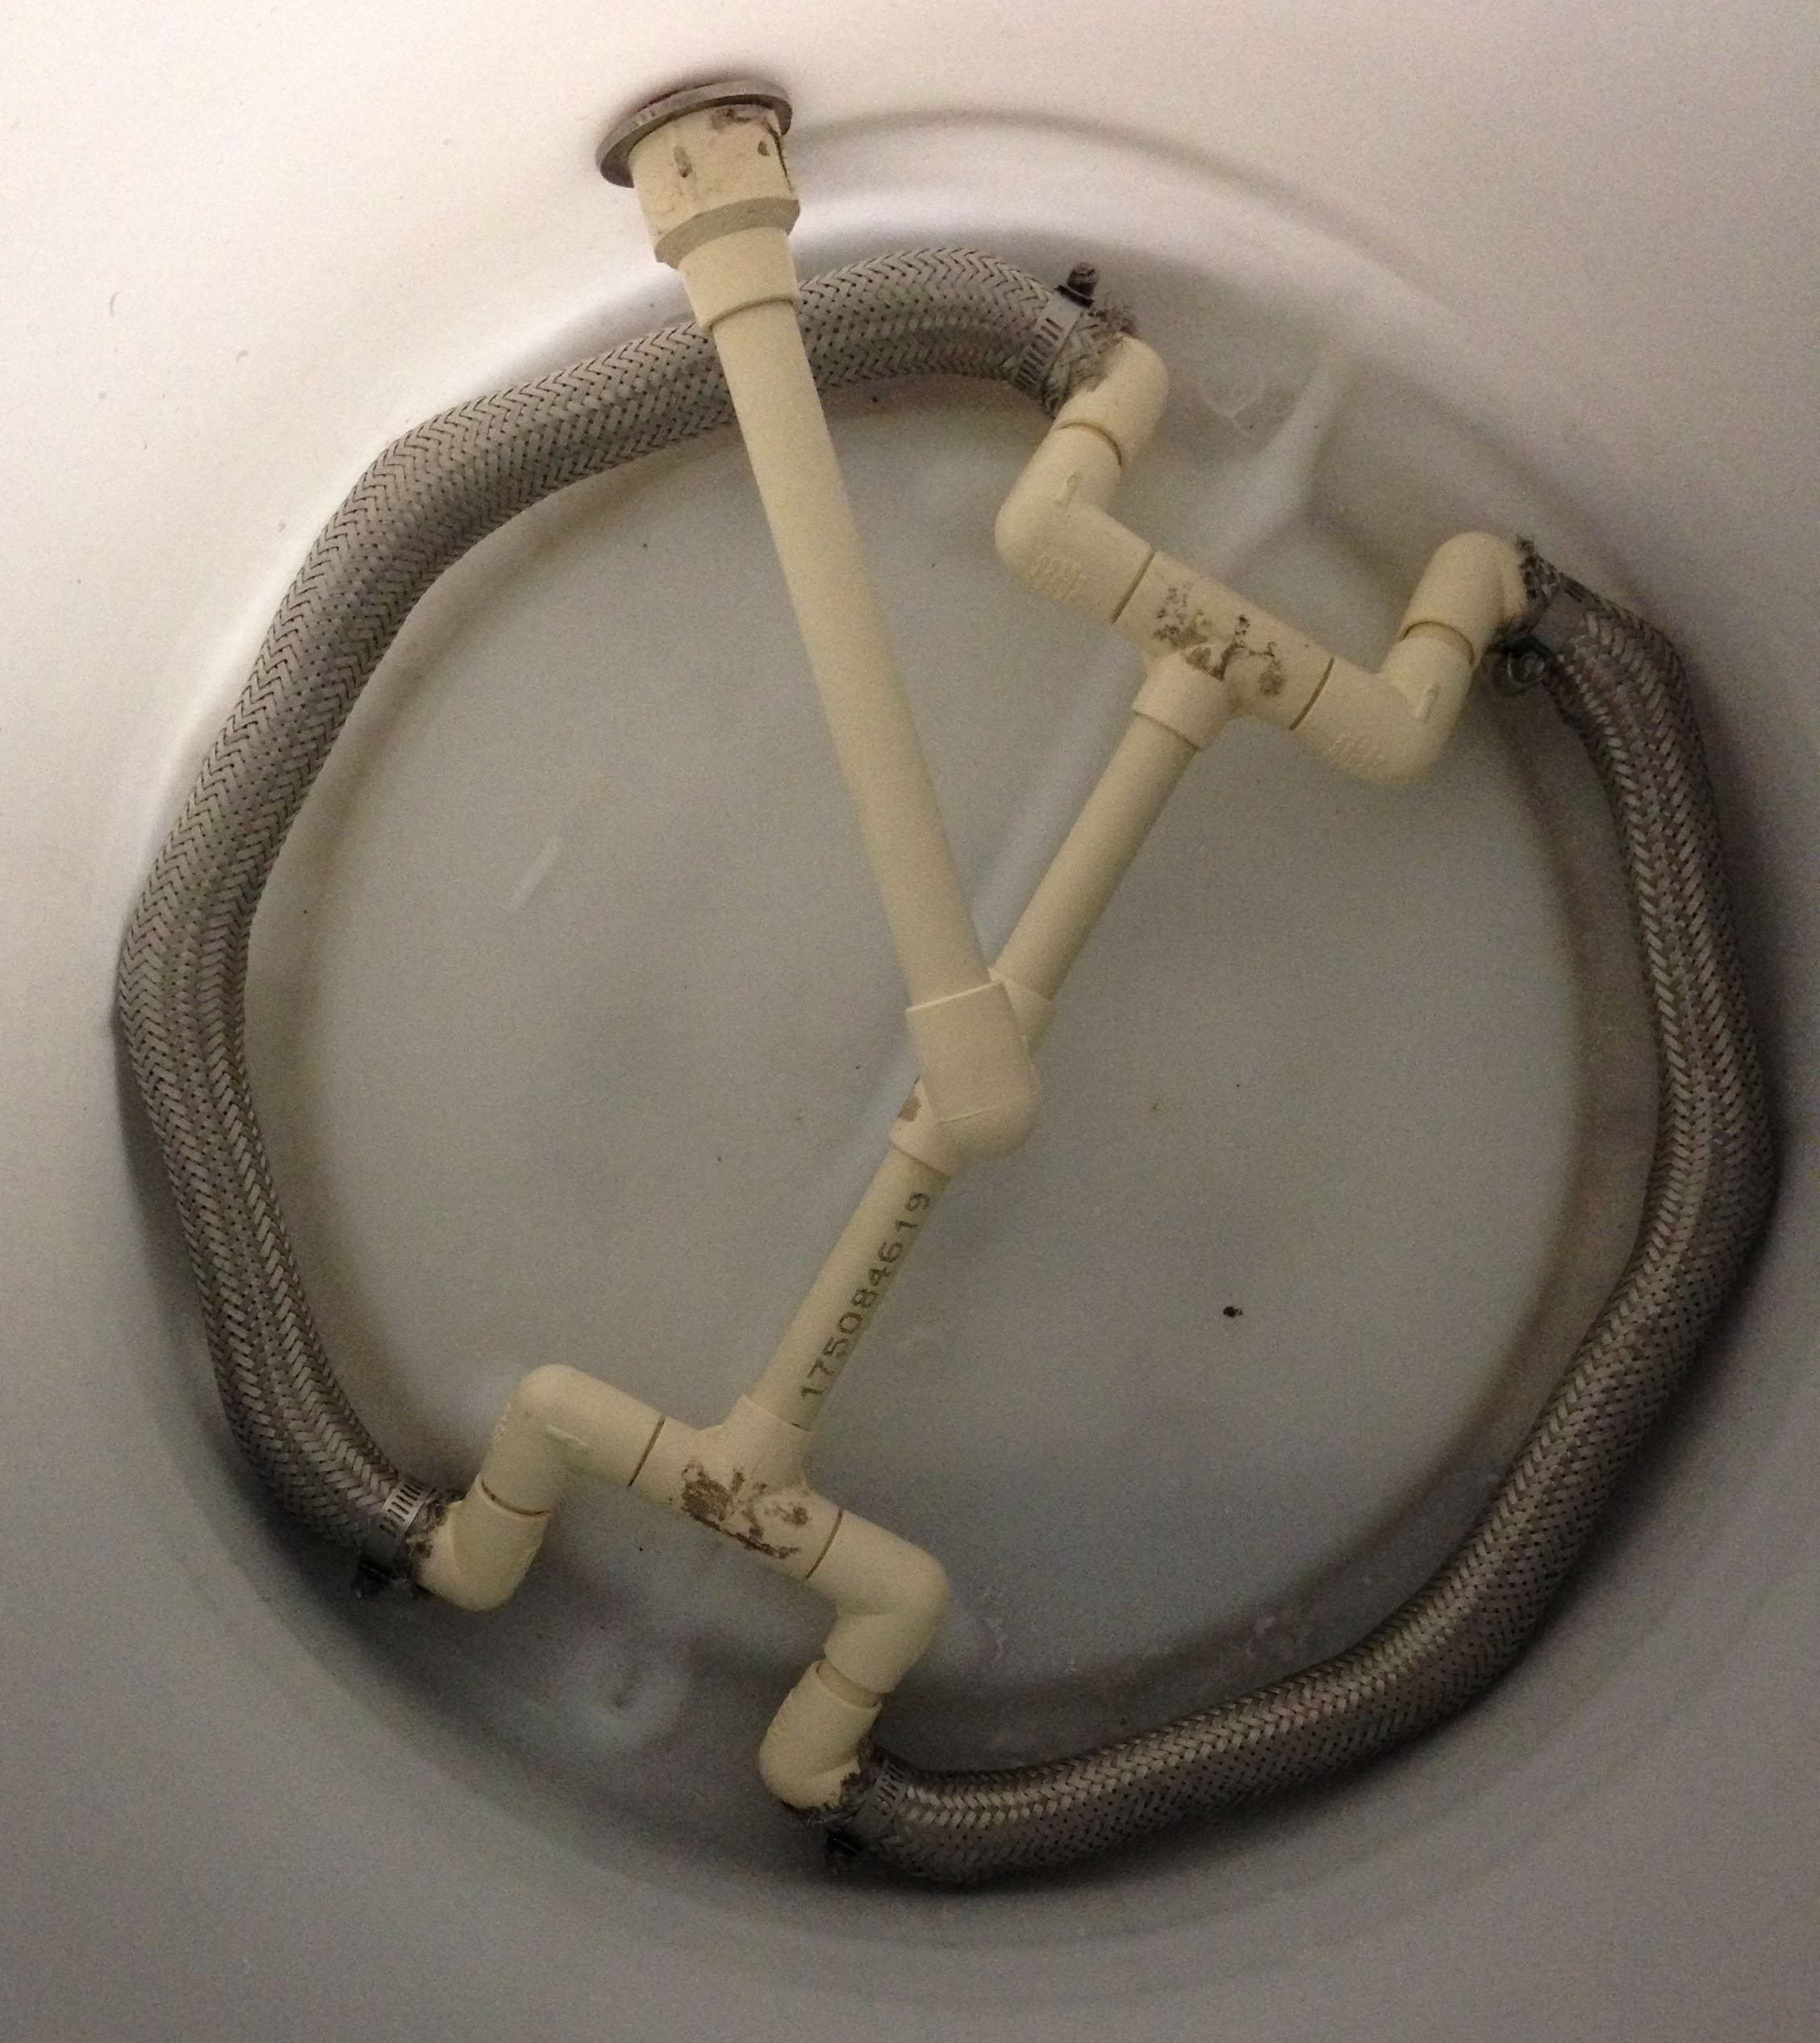
This may look like a weird steam punk no smoking sign, but it is actually a shot of our drainage manifold. I combined the very popular stainless steel braid concept, which we have been using in our current mash tun, with a drilled cpvc manifold. Separately, the two ideas work great. Together, I expect mashing magic! The barrel has a bit of a hump running across the bottom and the edges are actually recessed a bit, so we had to get a little creative with our pipe routing to get things to lie flat, hence the double wishbone design.
If you do much work with pvc or cpvc pipe, I highly recommend picking up a ratcheting cutter like the one below. With just a few squeezes of the handle, you can cut through plastic pipe like butter. The cuts are very clean, though not quite as straight as the ones you can get with the twisty turny kind of cutters. But I will take a slightly angled cut over twisting my arm off anyday.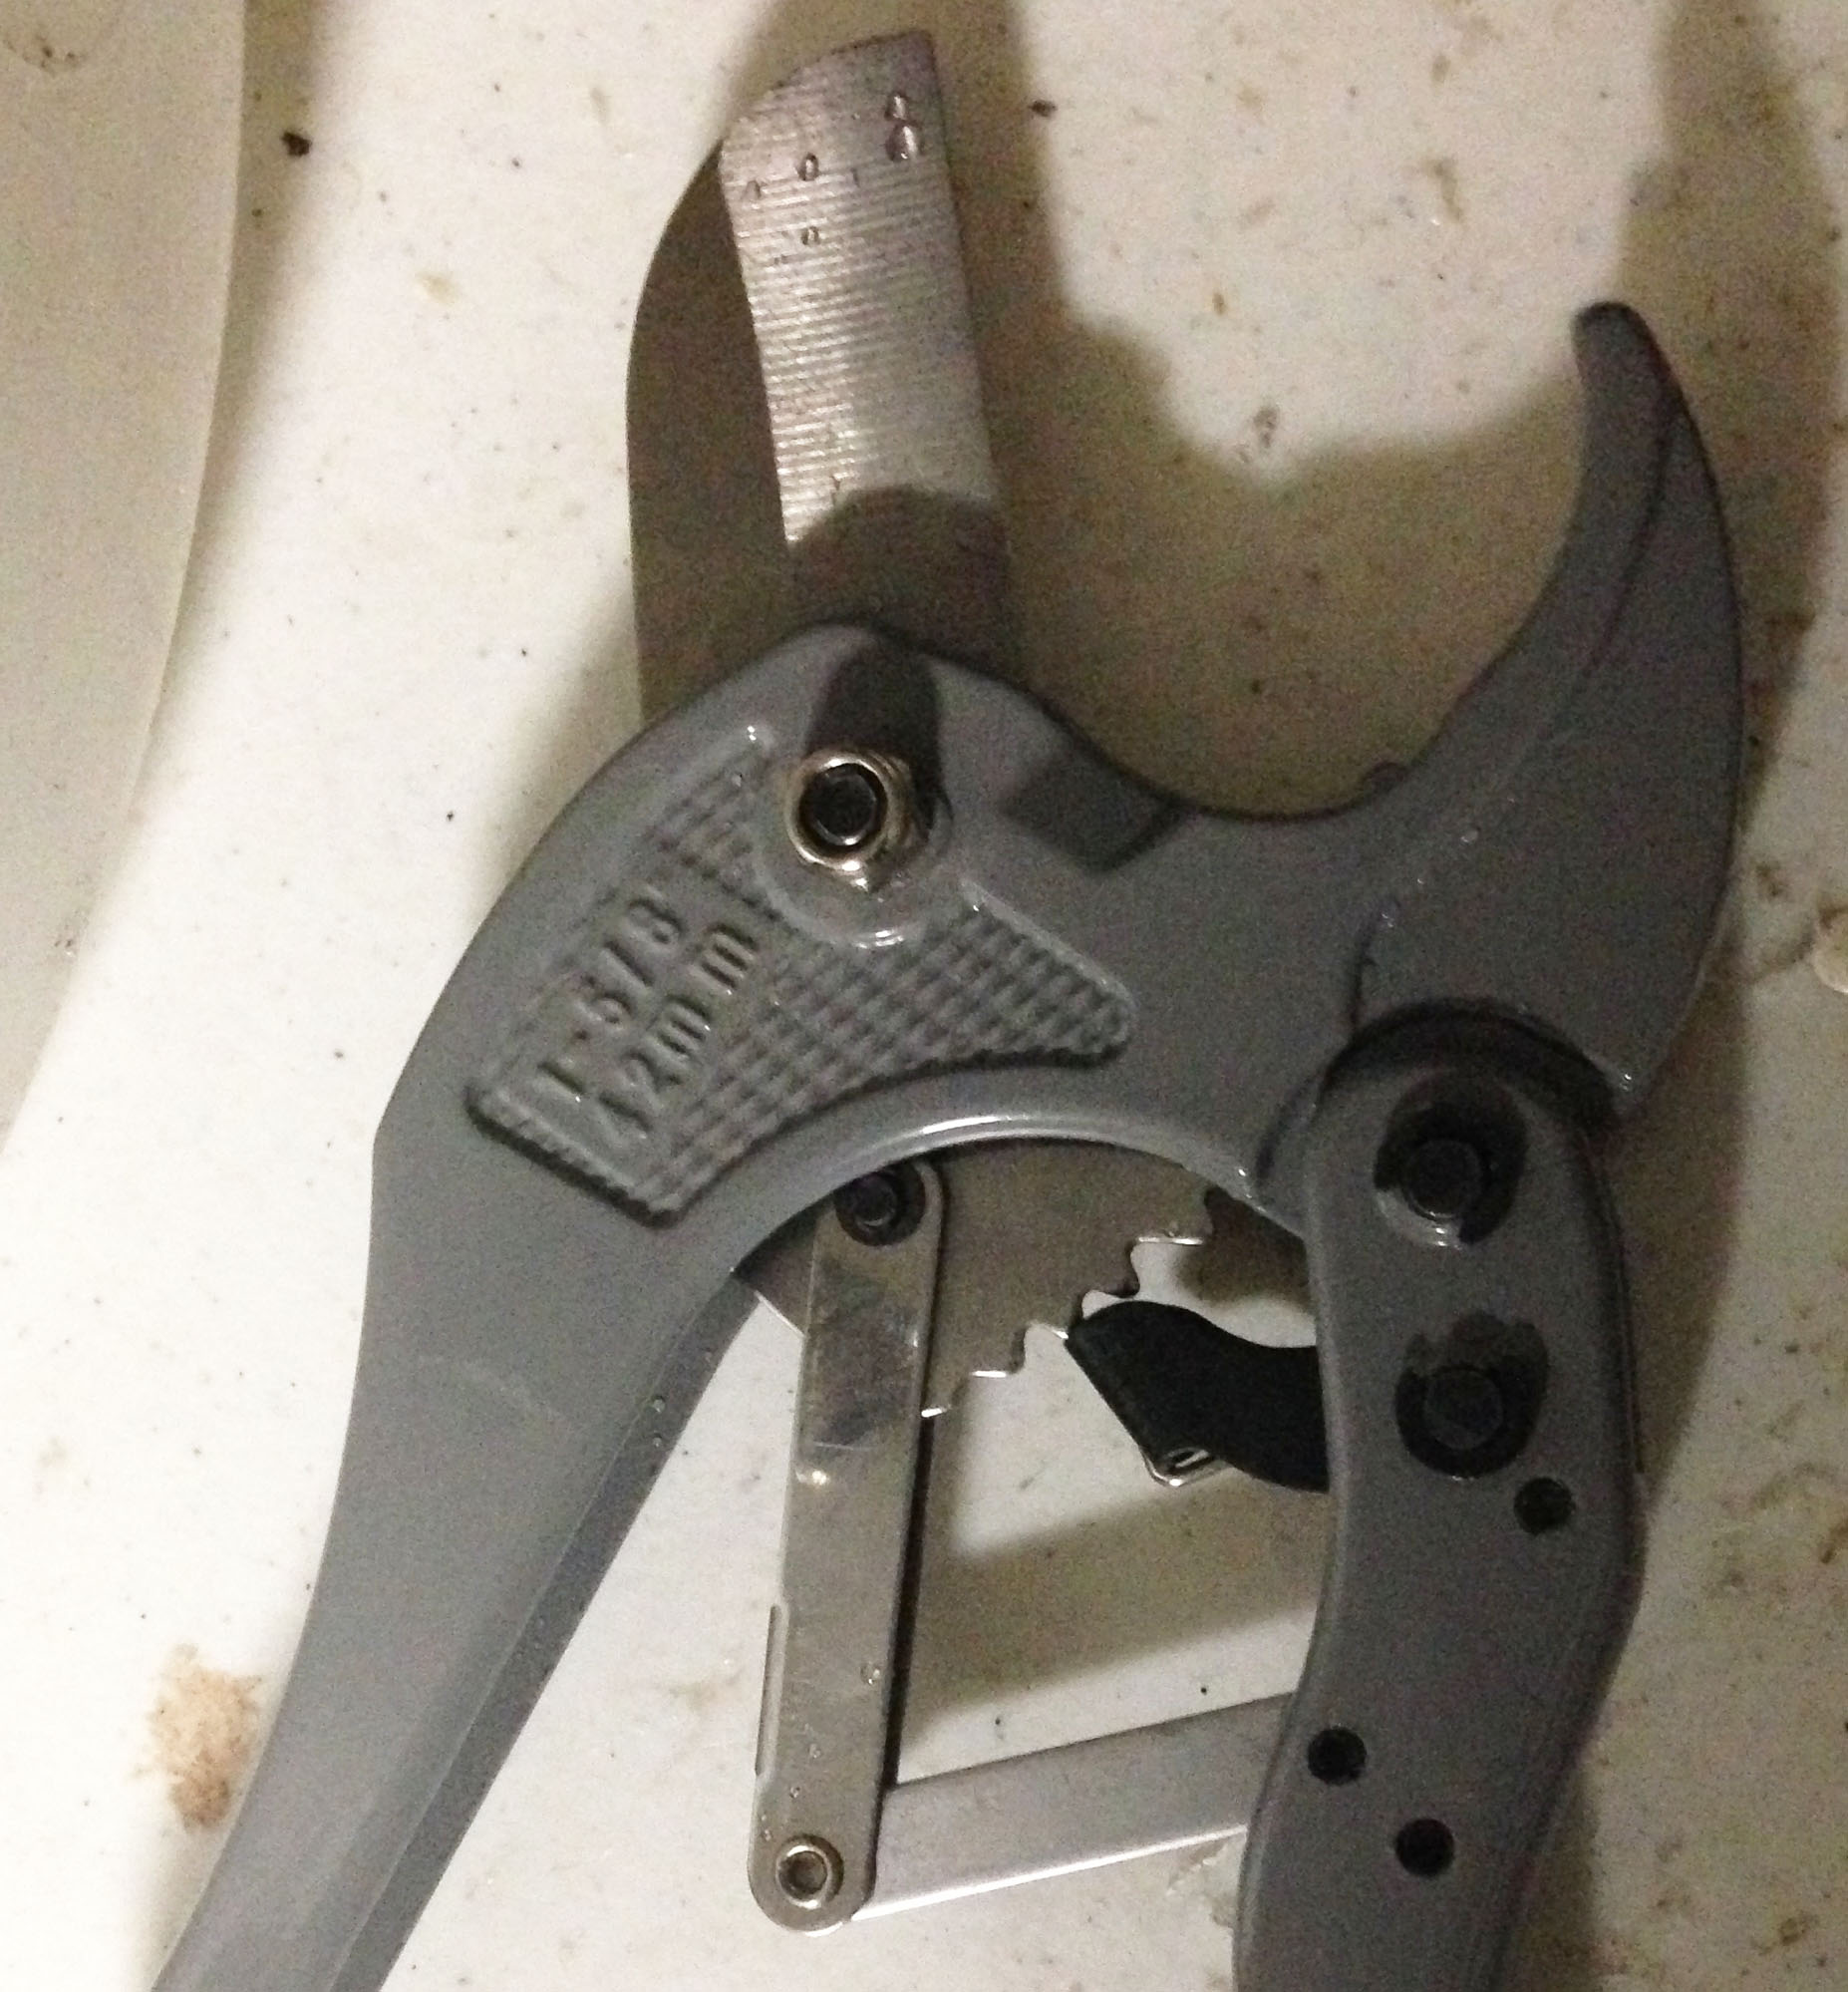
On the topic of tools, I also suggest getting yourself a conical step bit for drilling your holes.

It makes drilling large holes much easier and faster, as it gradually increases the size of the hole. It’s almost like having eight drill bits in one. That said, the holes this thing leaves in plastic are far from pretty, as it does leave a lot of crud around the holes. Nothing though, that can’t be prettied up with a few swipes of an exacto blade.

I drilled two holes into the side of the barrel. One for the valve and the second for a thermowell, which will be used to monitor the temperature of the grain bed during the mash. I wanted to get the temp as close to the center of the grain bed as possible, so a pretty long thermowell was required. I think this one will do nicely.
Once the valves were installed, I filled the barrel up to check for leaks. Once everything was good to go on that front, the barrel was drained, and we moved on to insulating it.
(does anyone else suddenly have a strong desire to take a pee?)
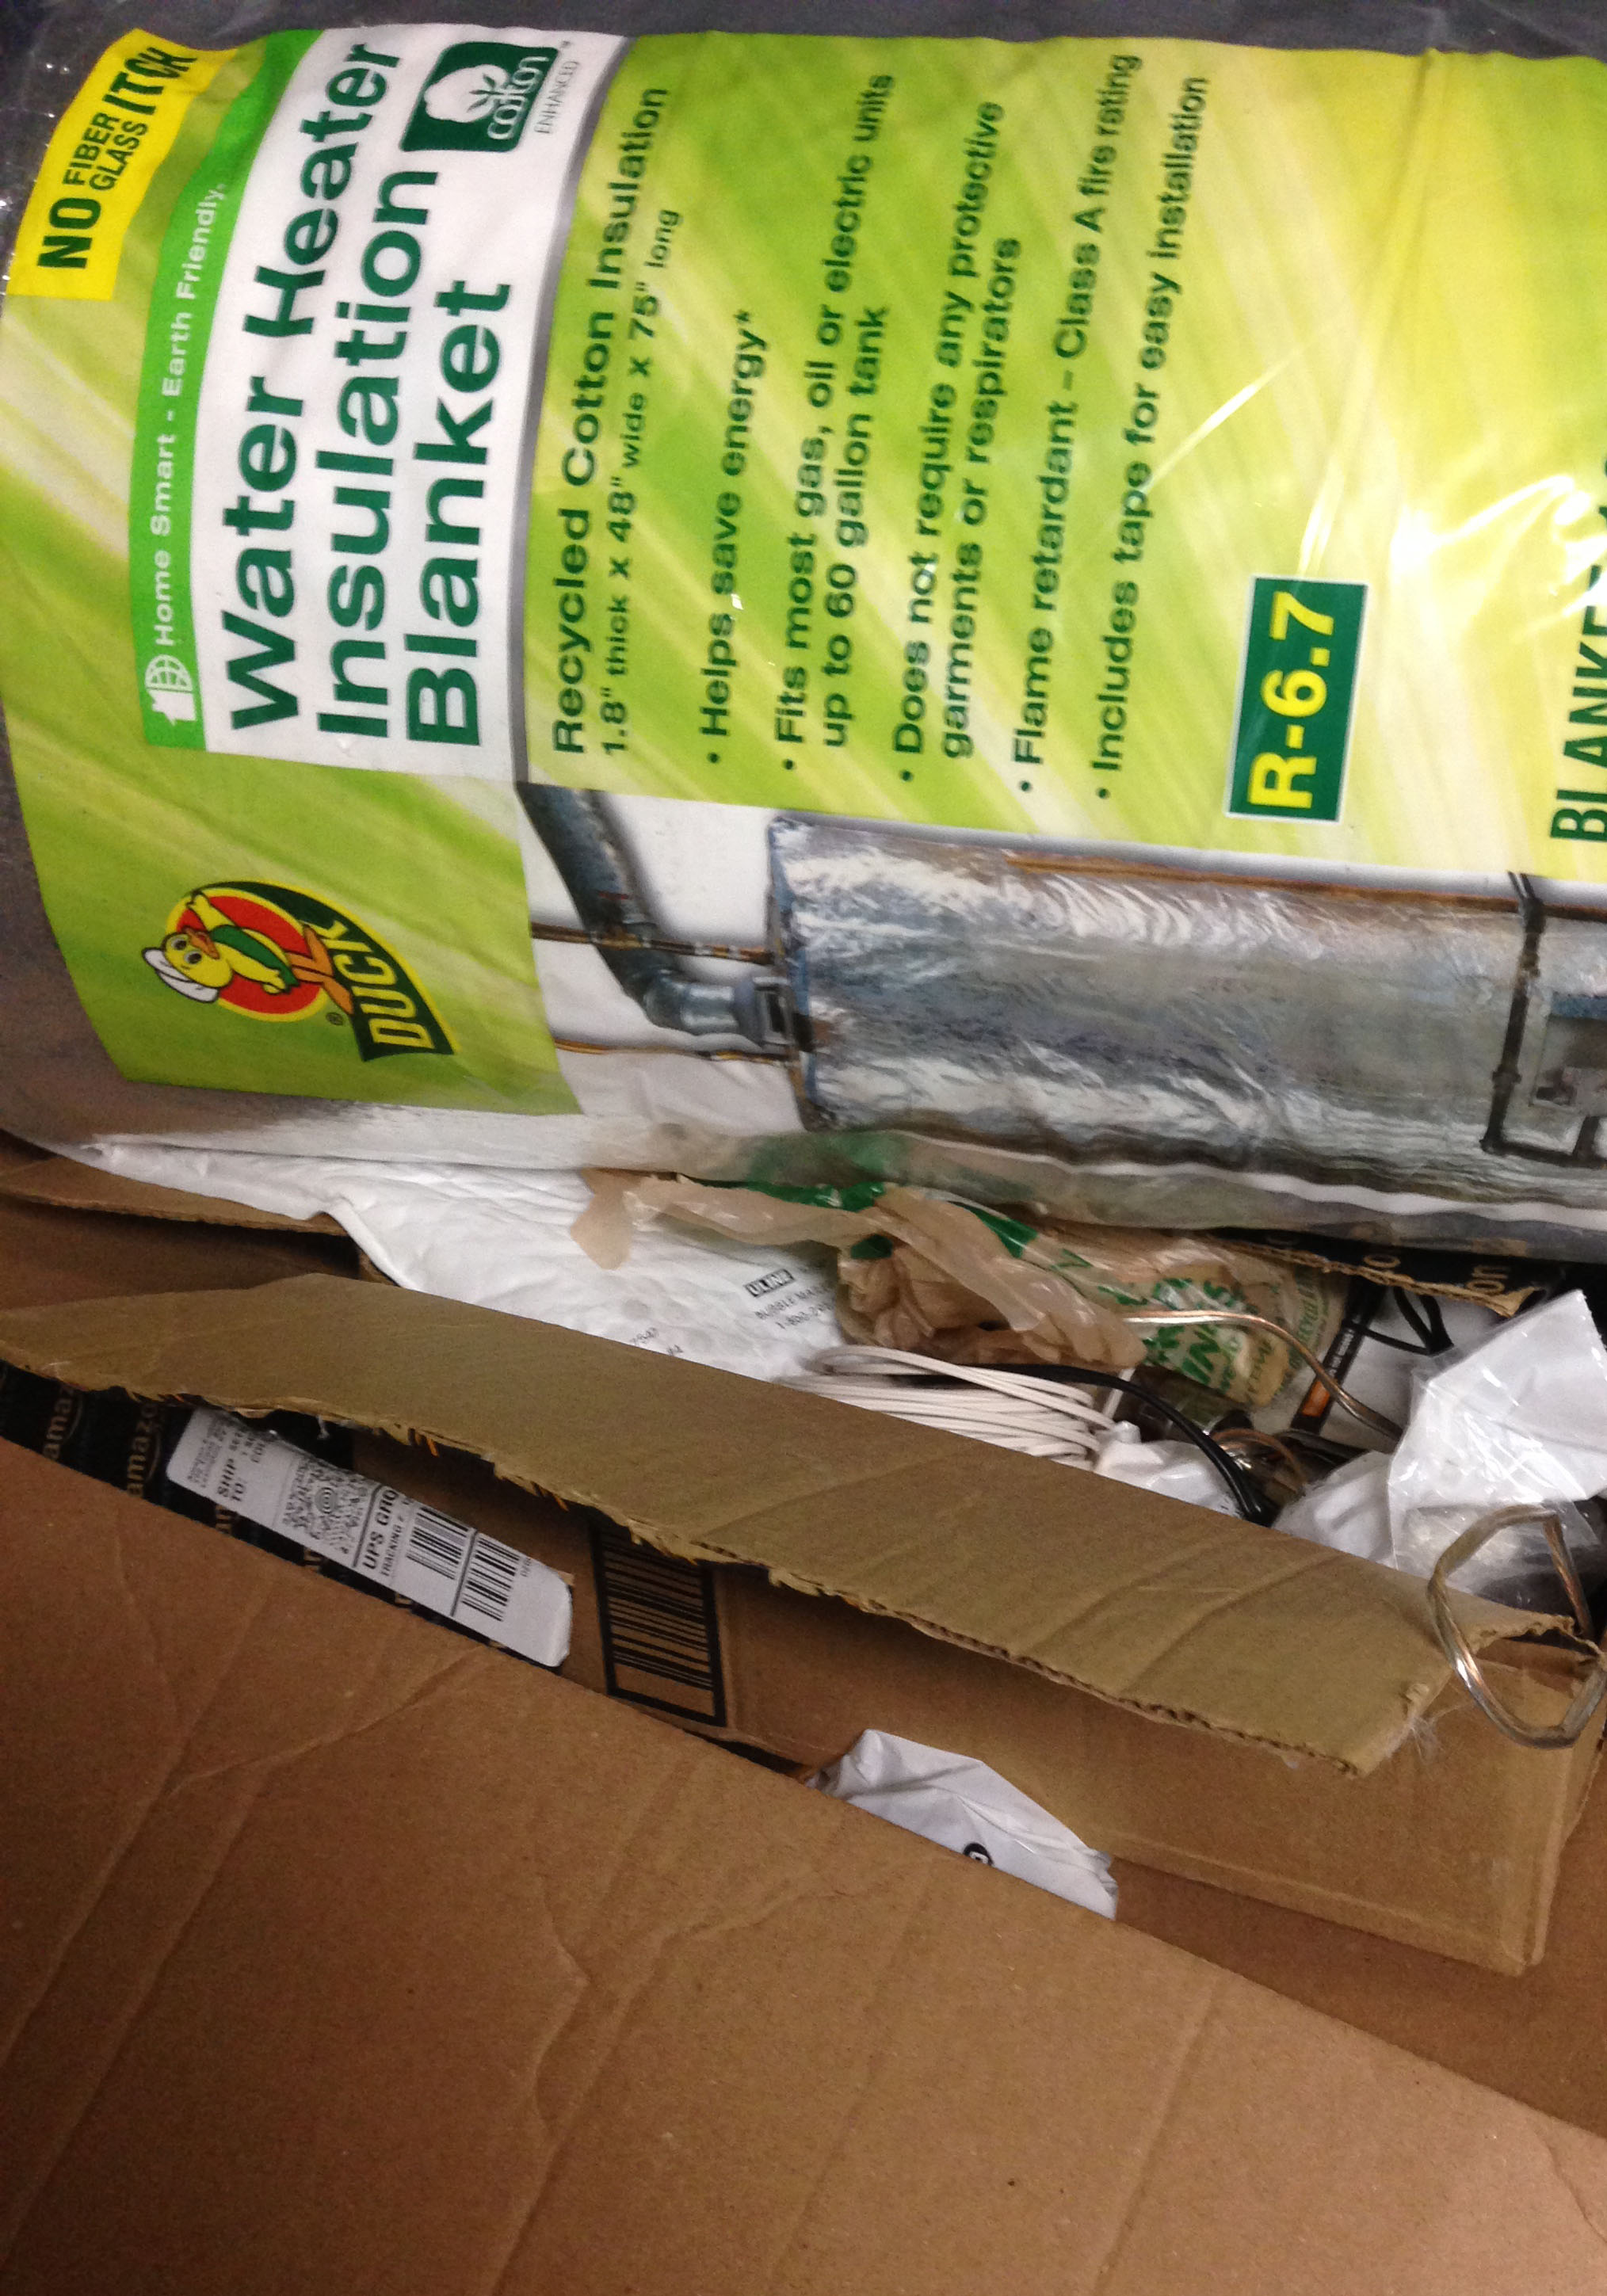
Insulation is of the utmost importance. We do not directly heat our mash, so to keep our temperatures at the proper range for enzymatic action, we need to have a very well insulated tun.
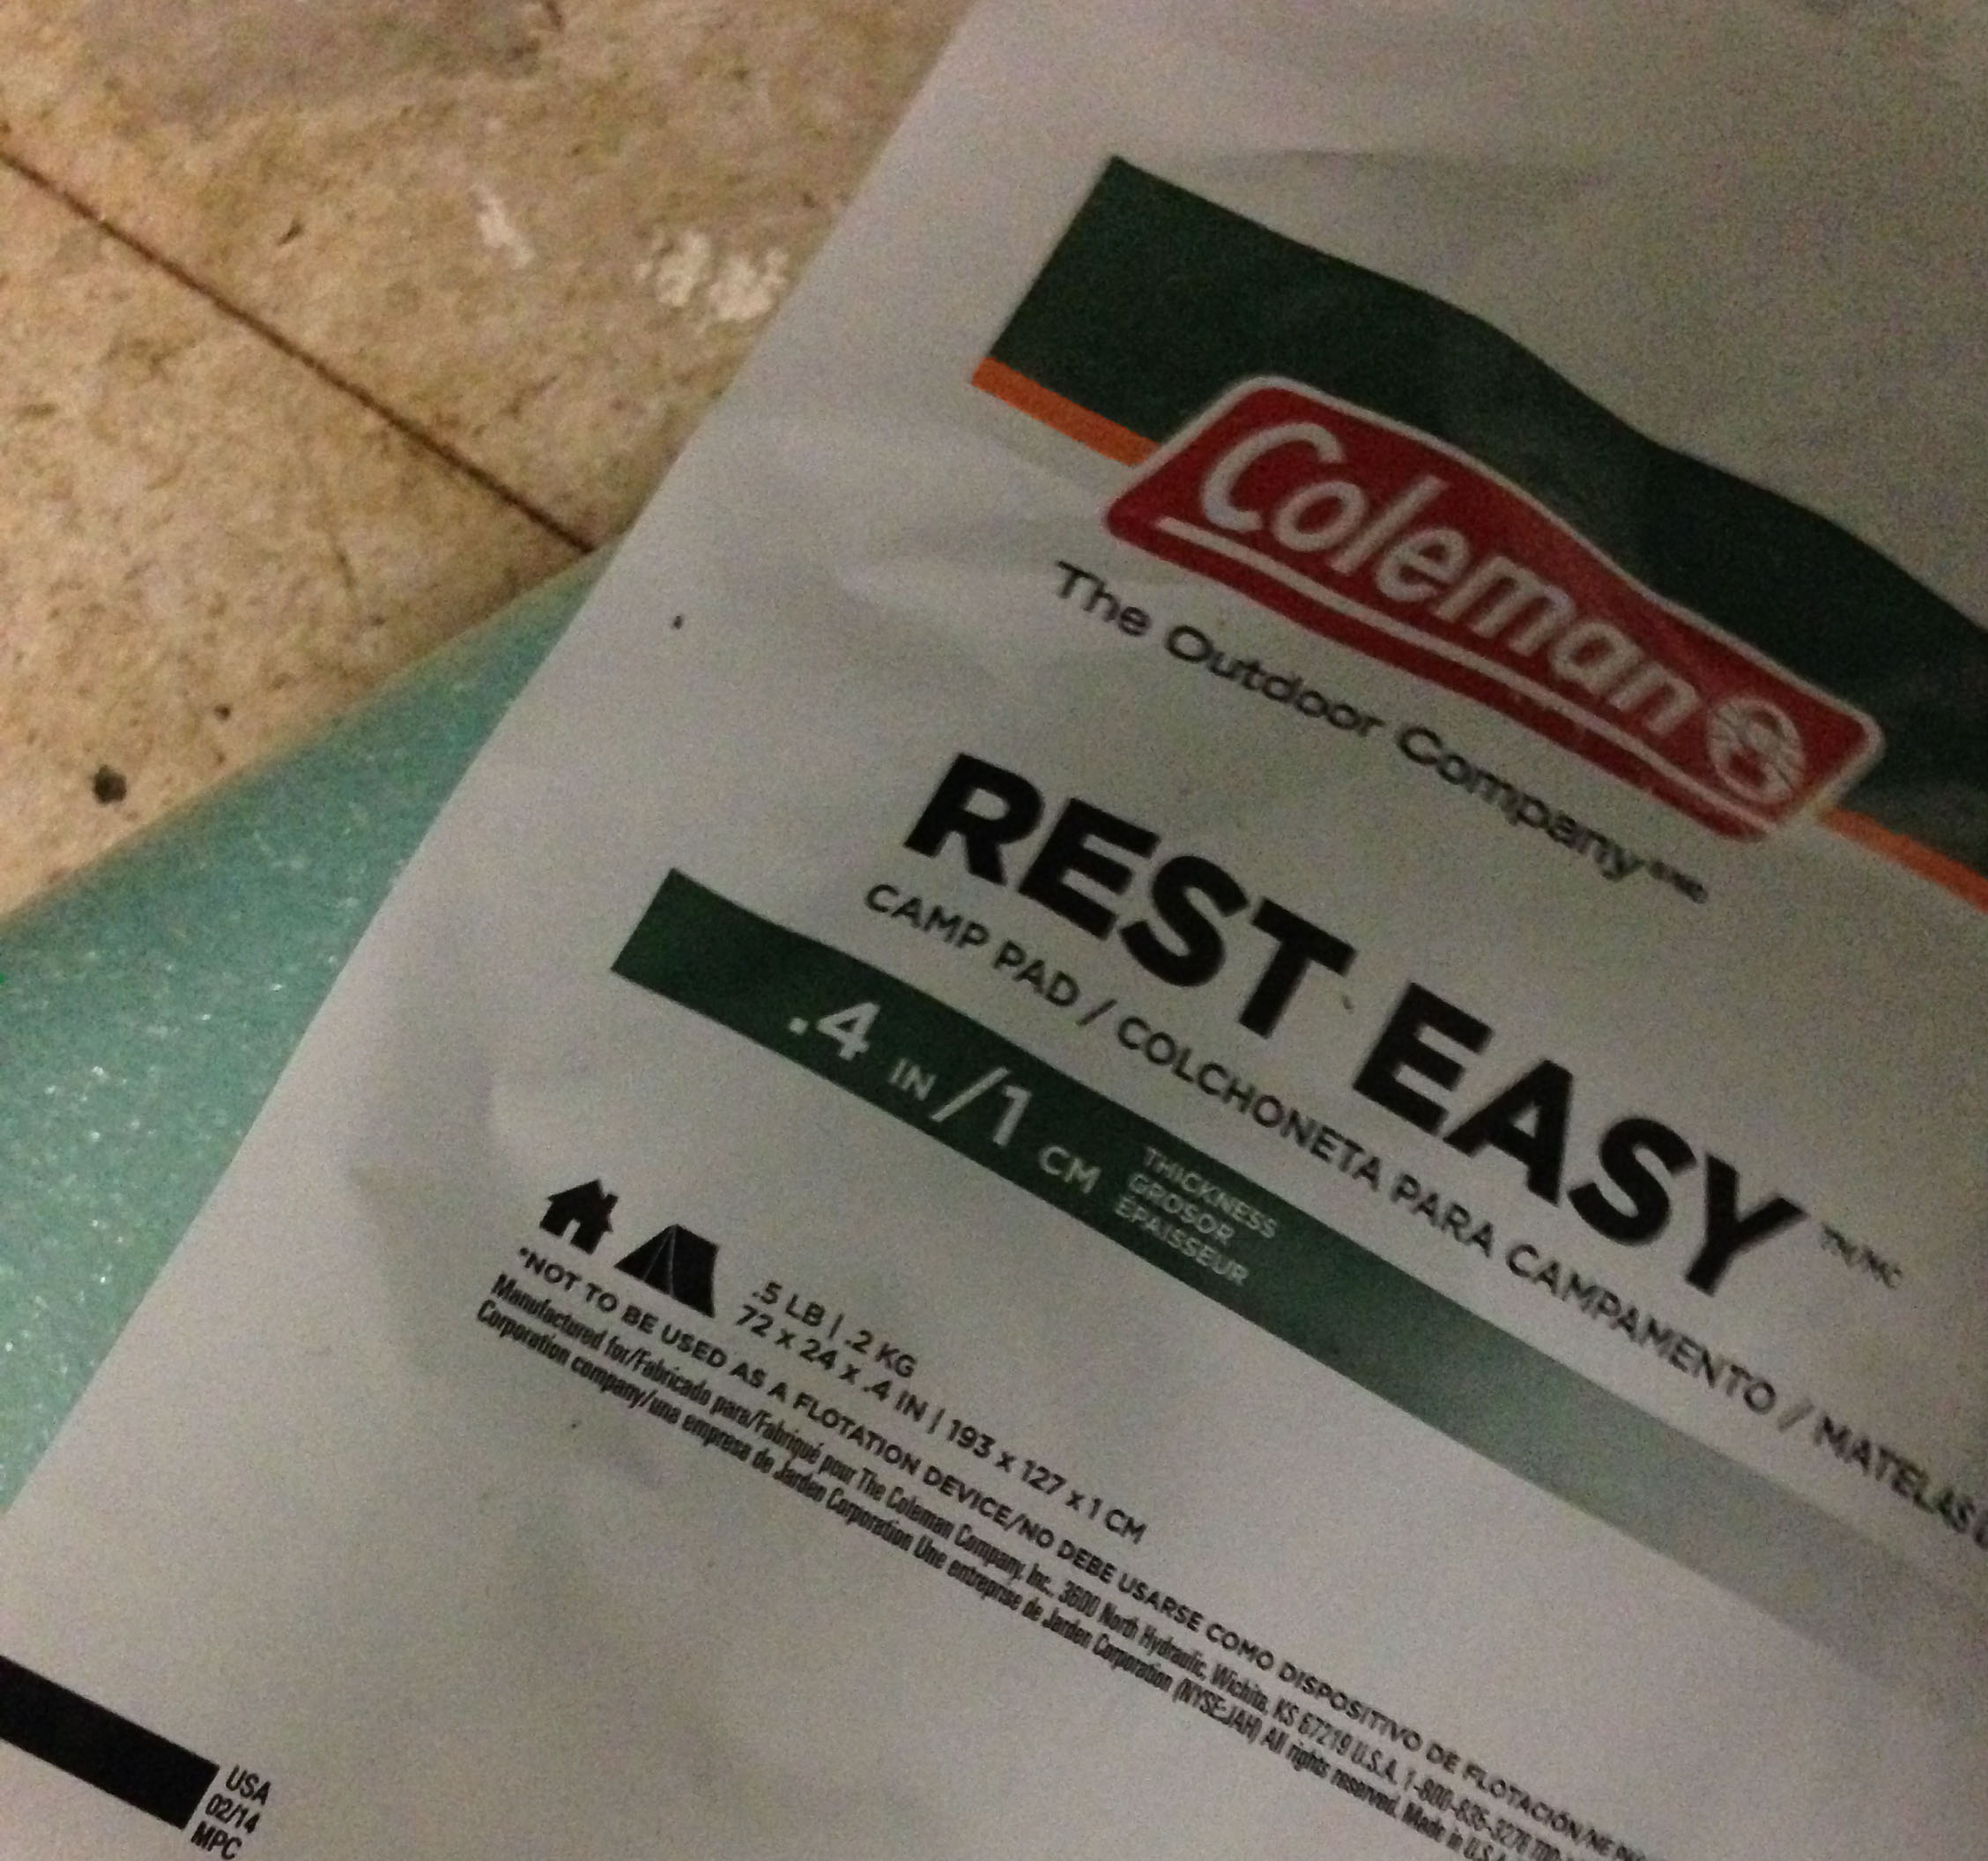
I started with a basic, off-the-shelf foam camping pad, cut to size and attached using copious amounts of duct tape. 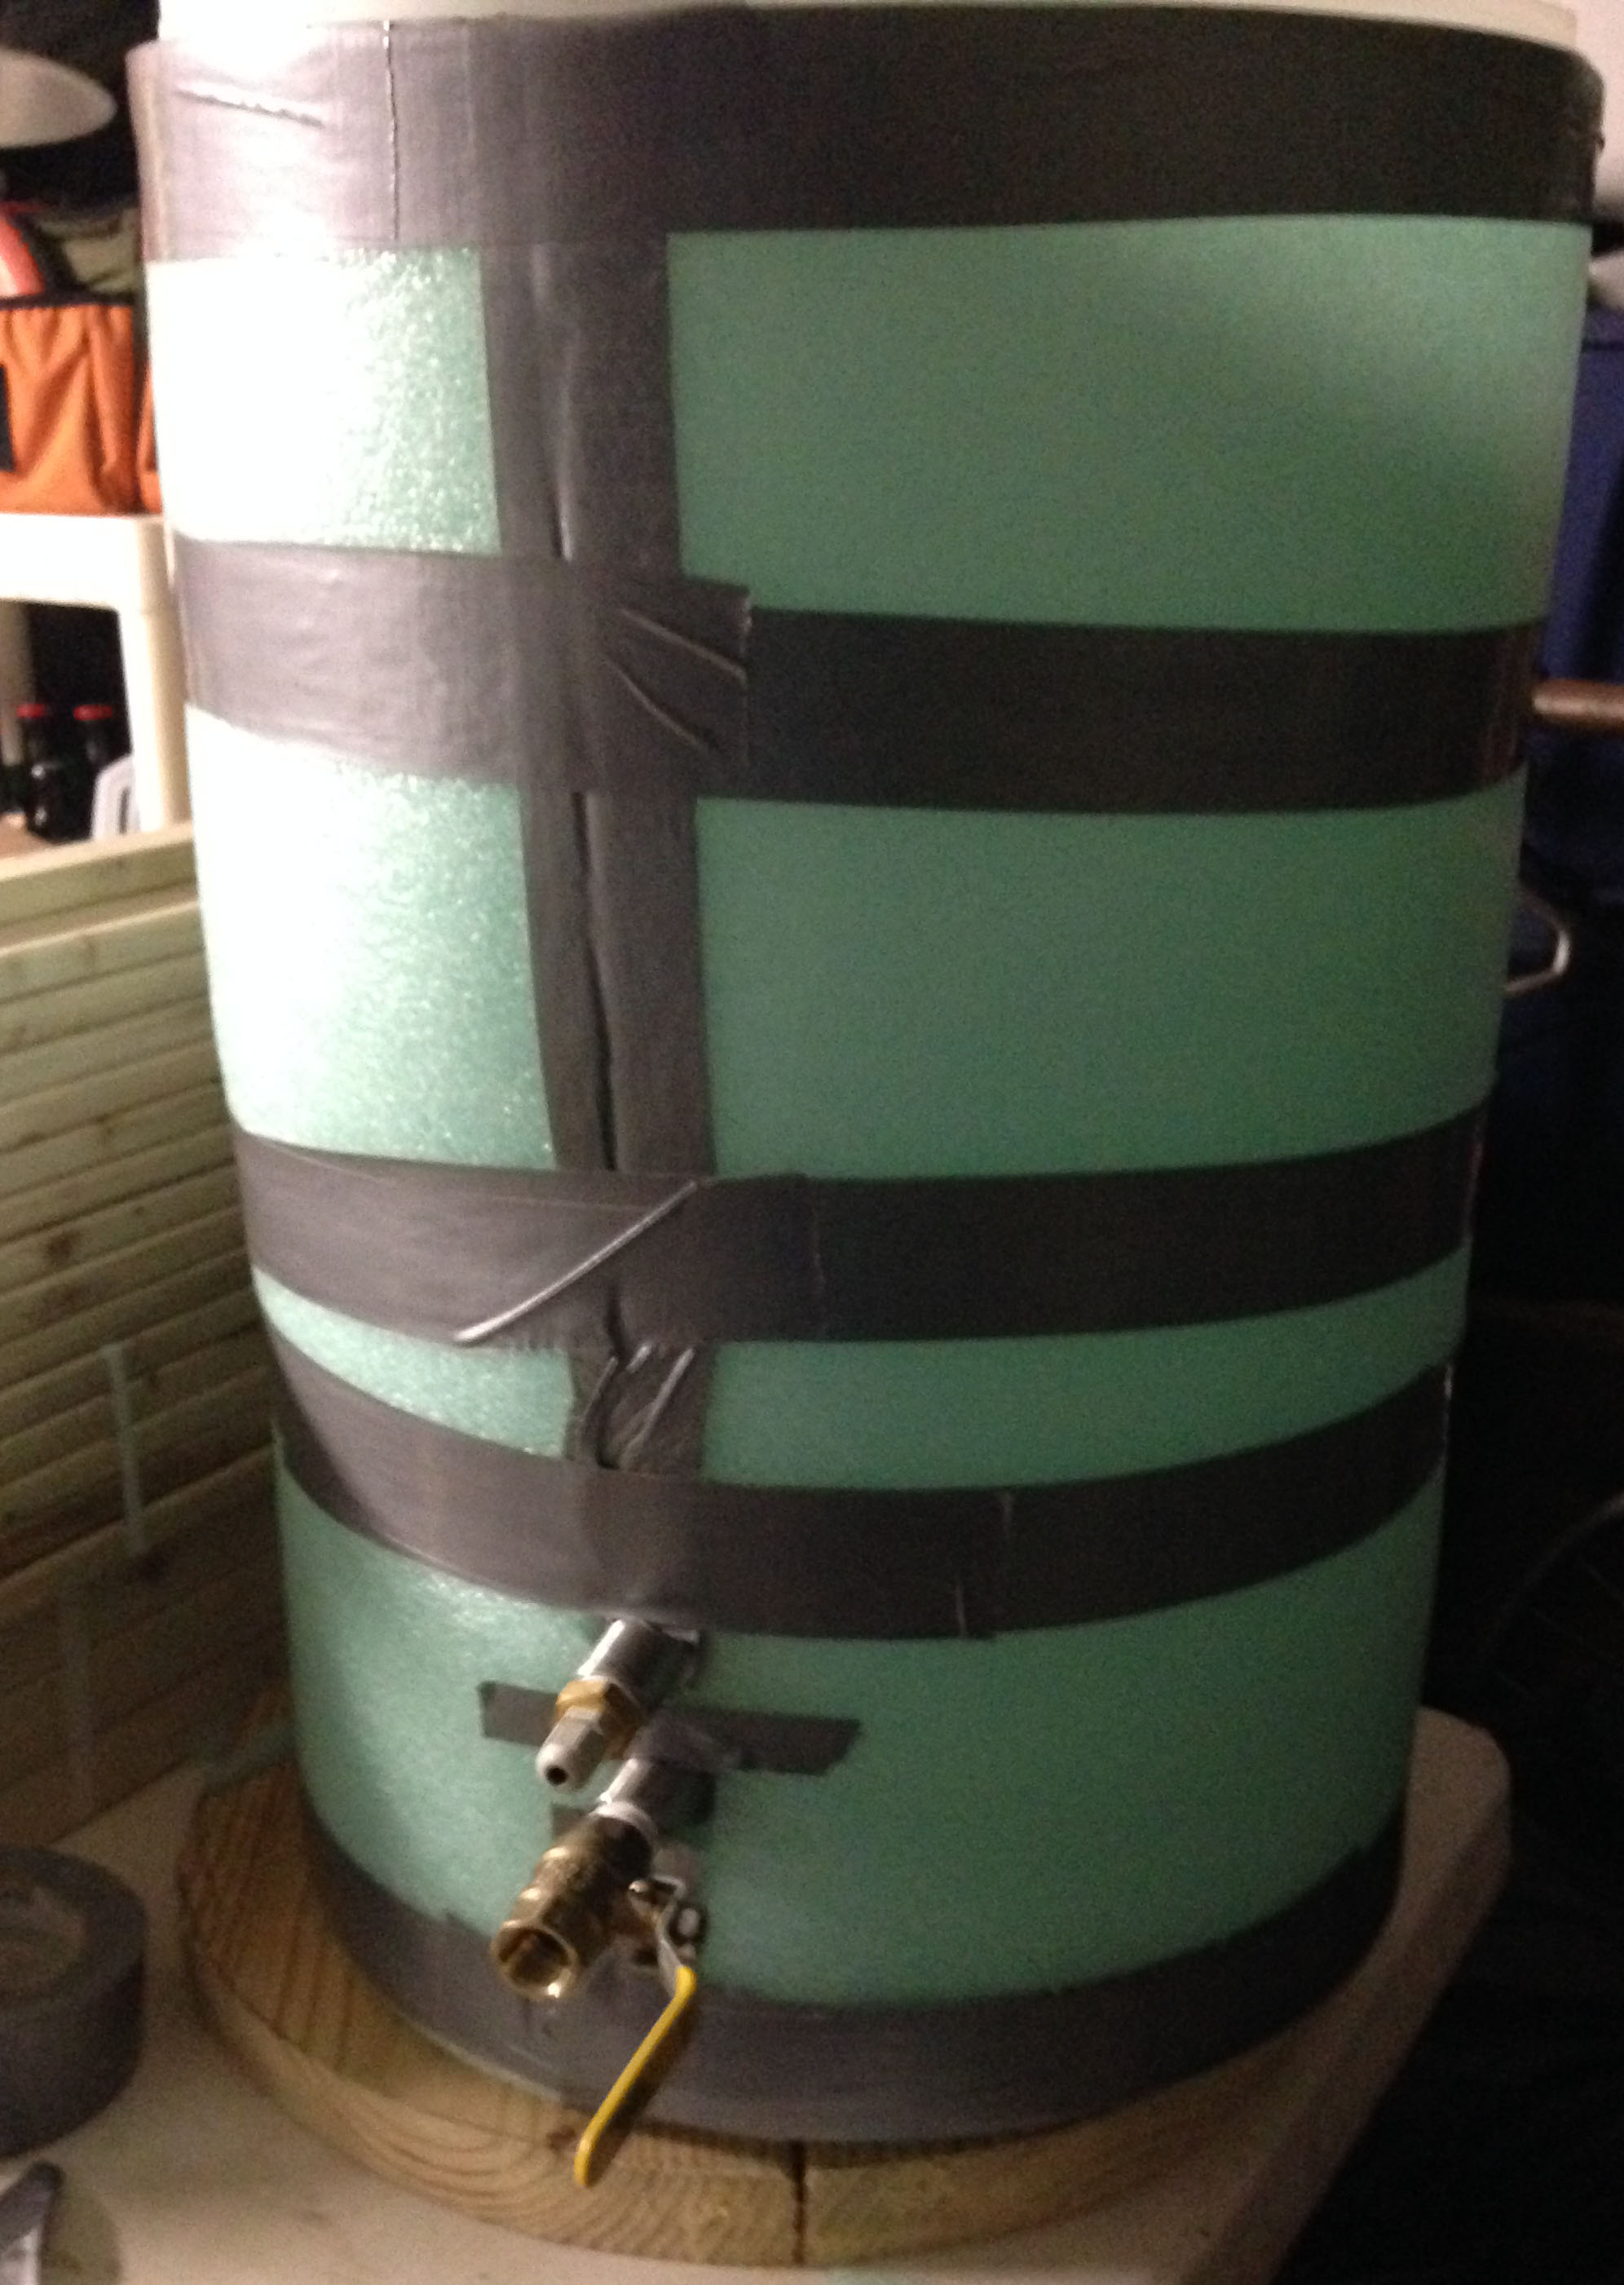
That would probably work okay, but “okay” isn’t what we are shooting for. More insulation was needed.
To provide even more insulation, the whole shebang was wrapped in a water heater blank held on with an even more copious amount of duct tape.
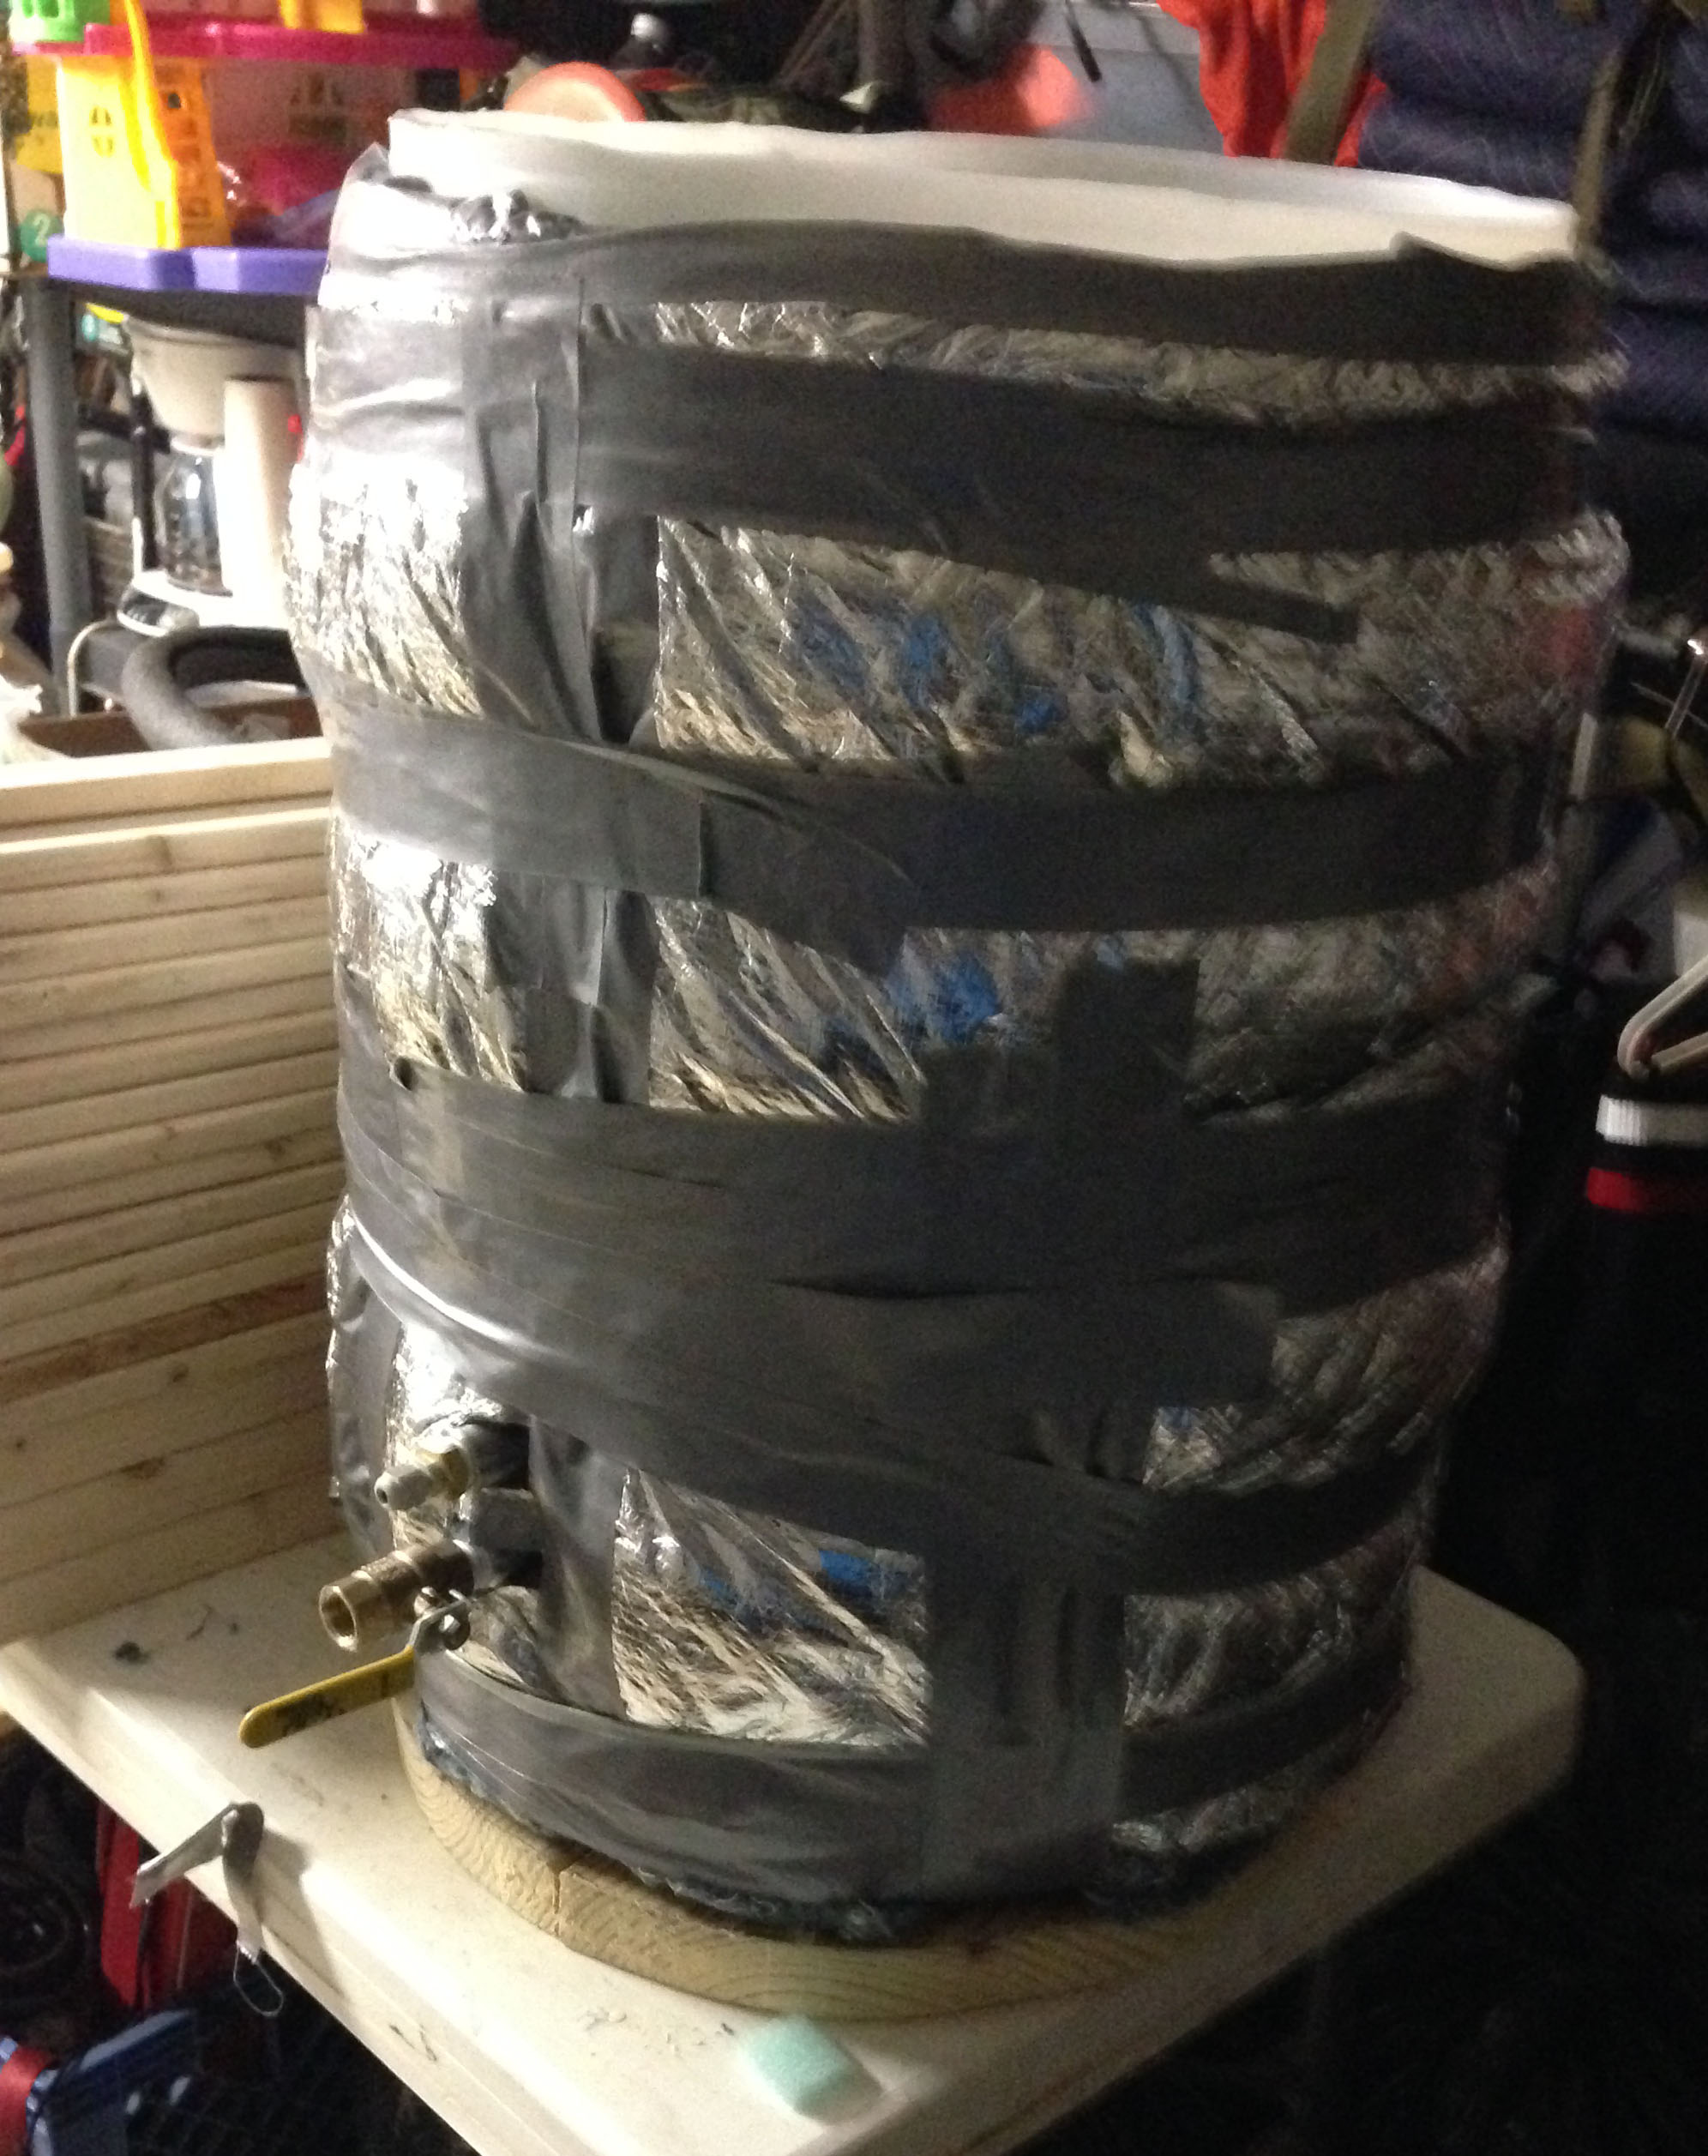
She ain’t pretty…but this would probably do the job quite nicely. But “quite nicely” isn’t quite what we are shooting for either. It still needed something more.
Strap in. Things are about to get sexy.
A base was cut out of some pretty sturdy wood.

Wood cladding was cut and attached to the base around the insulated tun.

Steel bands were wrapped around the tun at a couple key points to hold everything together nicely. A ratchet strap was brought into the action to keep the pickets nice and snug during this step in the process.
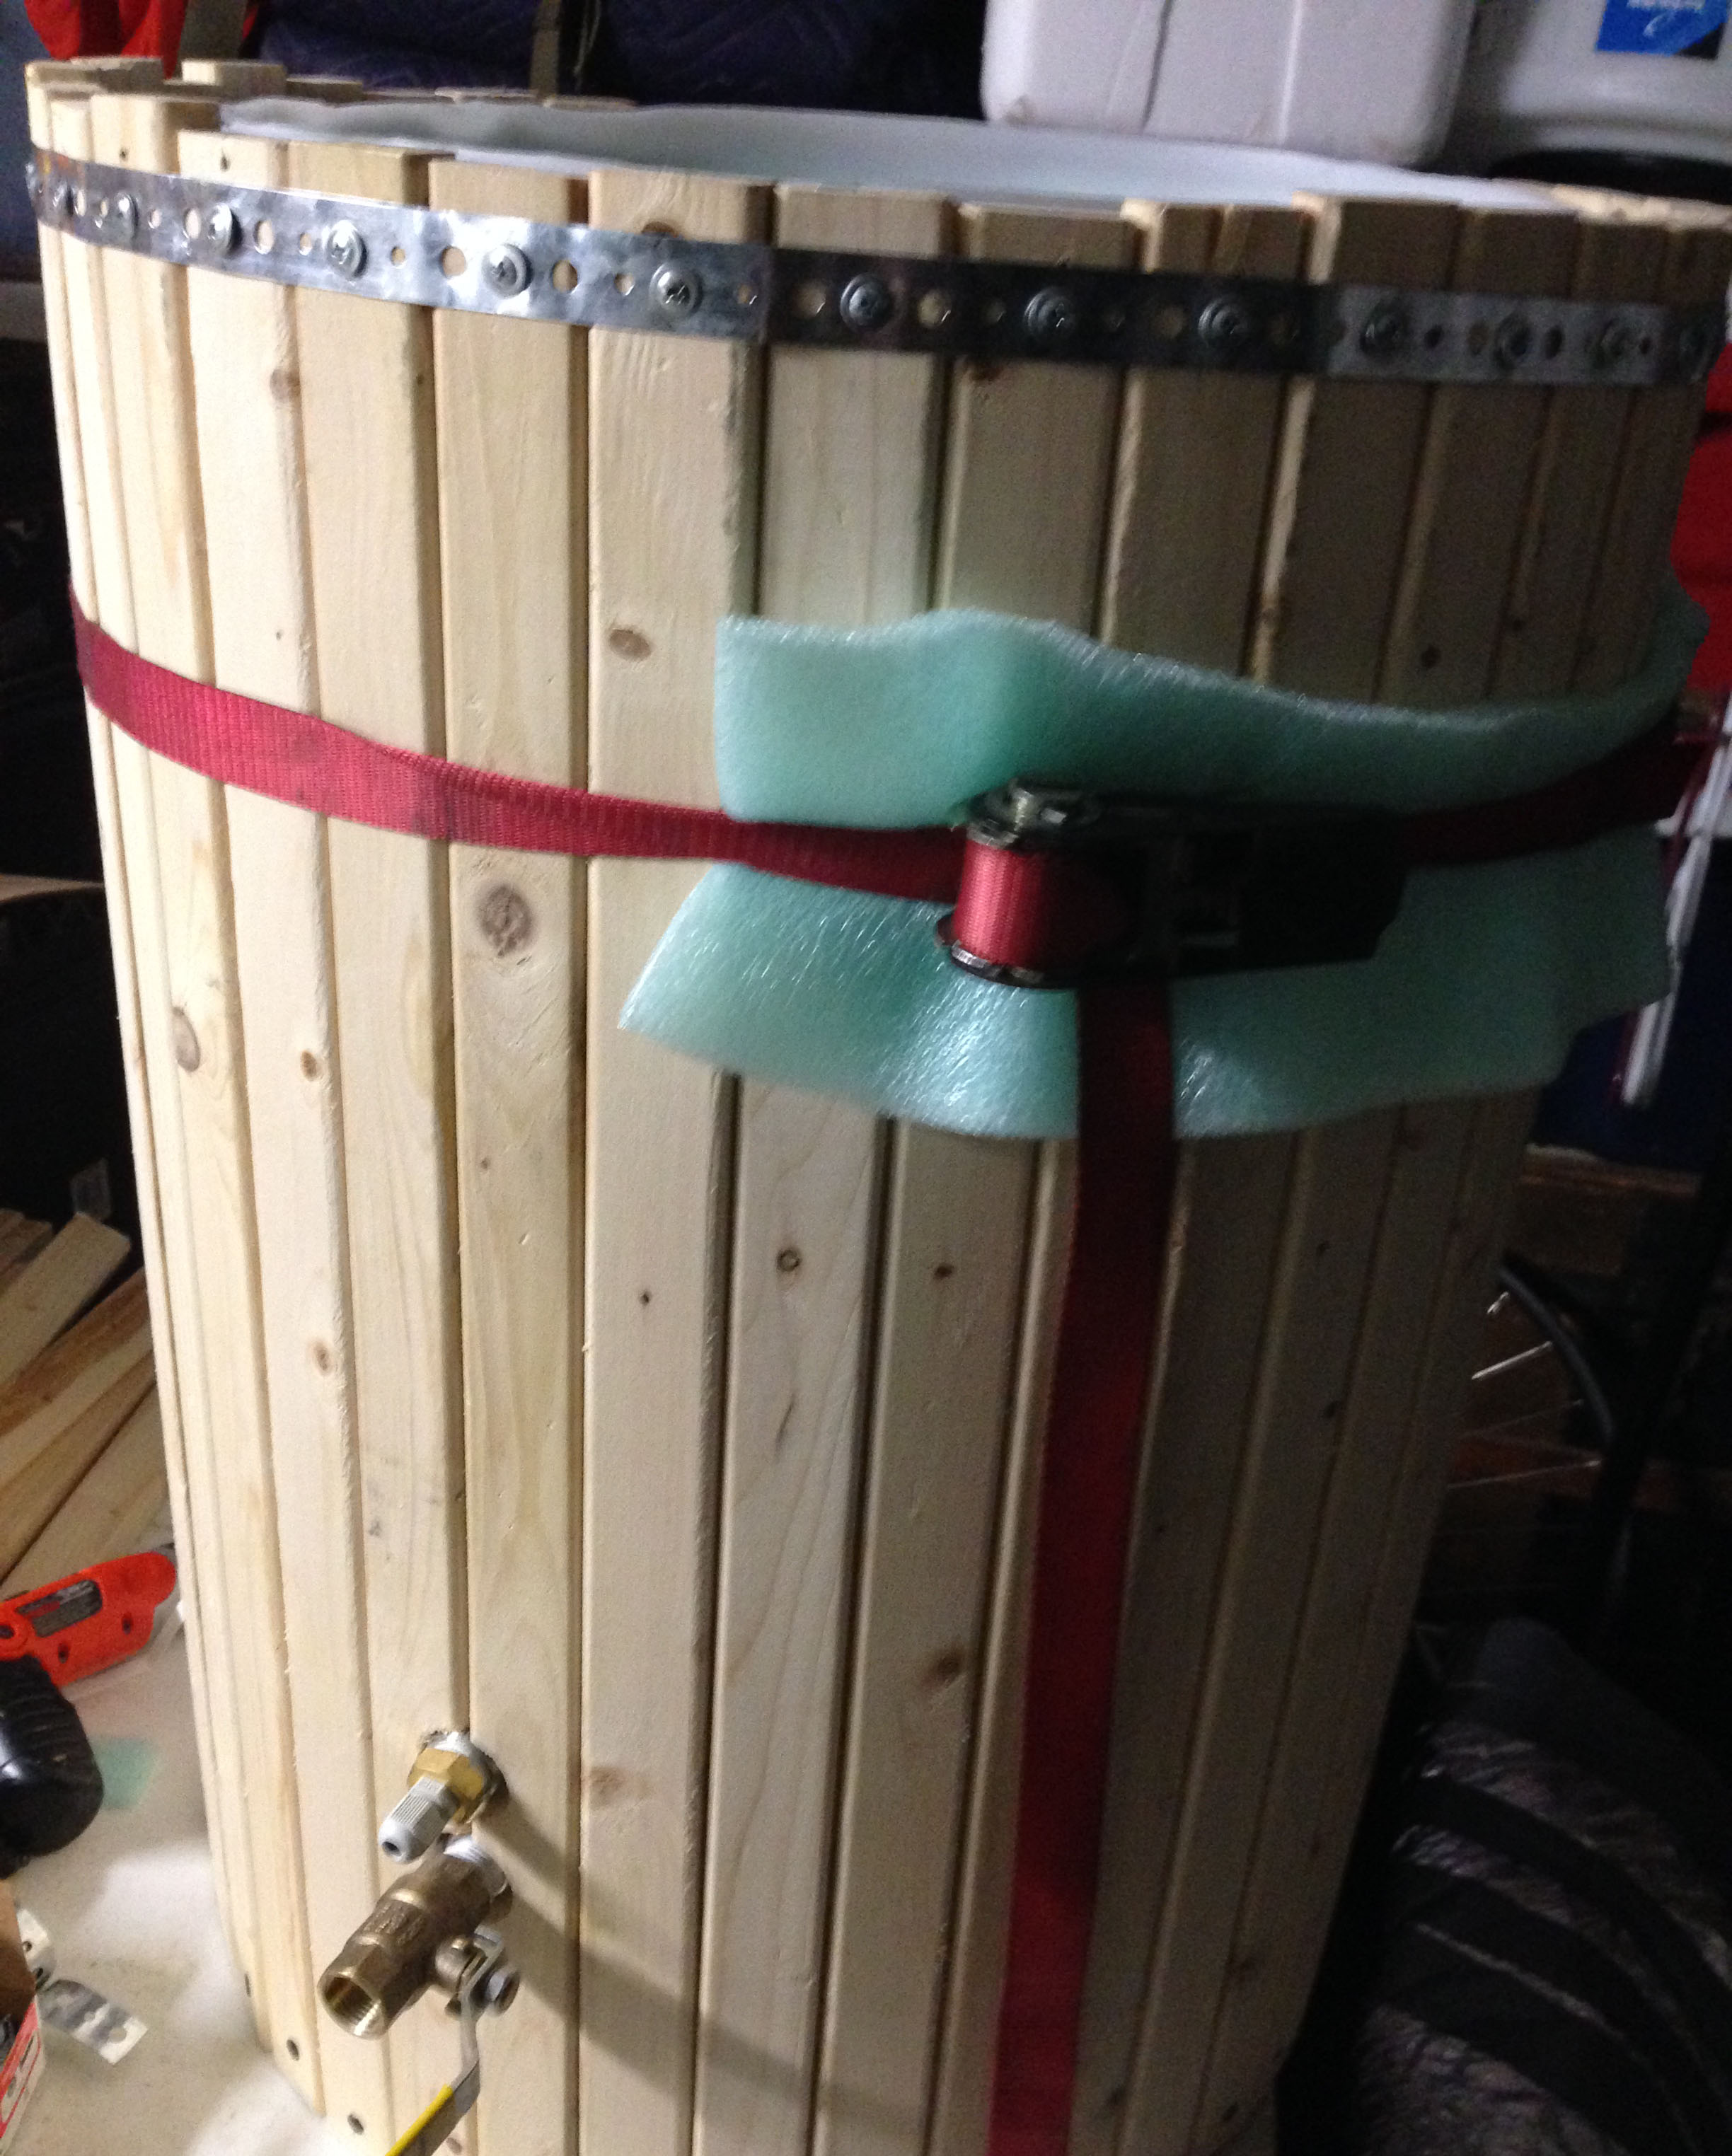
The metal straps are the same kind used for hanging HVAC systems. One ten foot roll was the perfect amount for this job.

Here she is with both bands installed:

Looking good. But something was still missing. It needed a lid.
Our lid was manufactured from two cutting boards attached to eachother with a couple hinges. 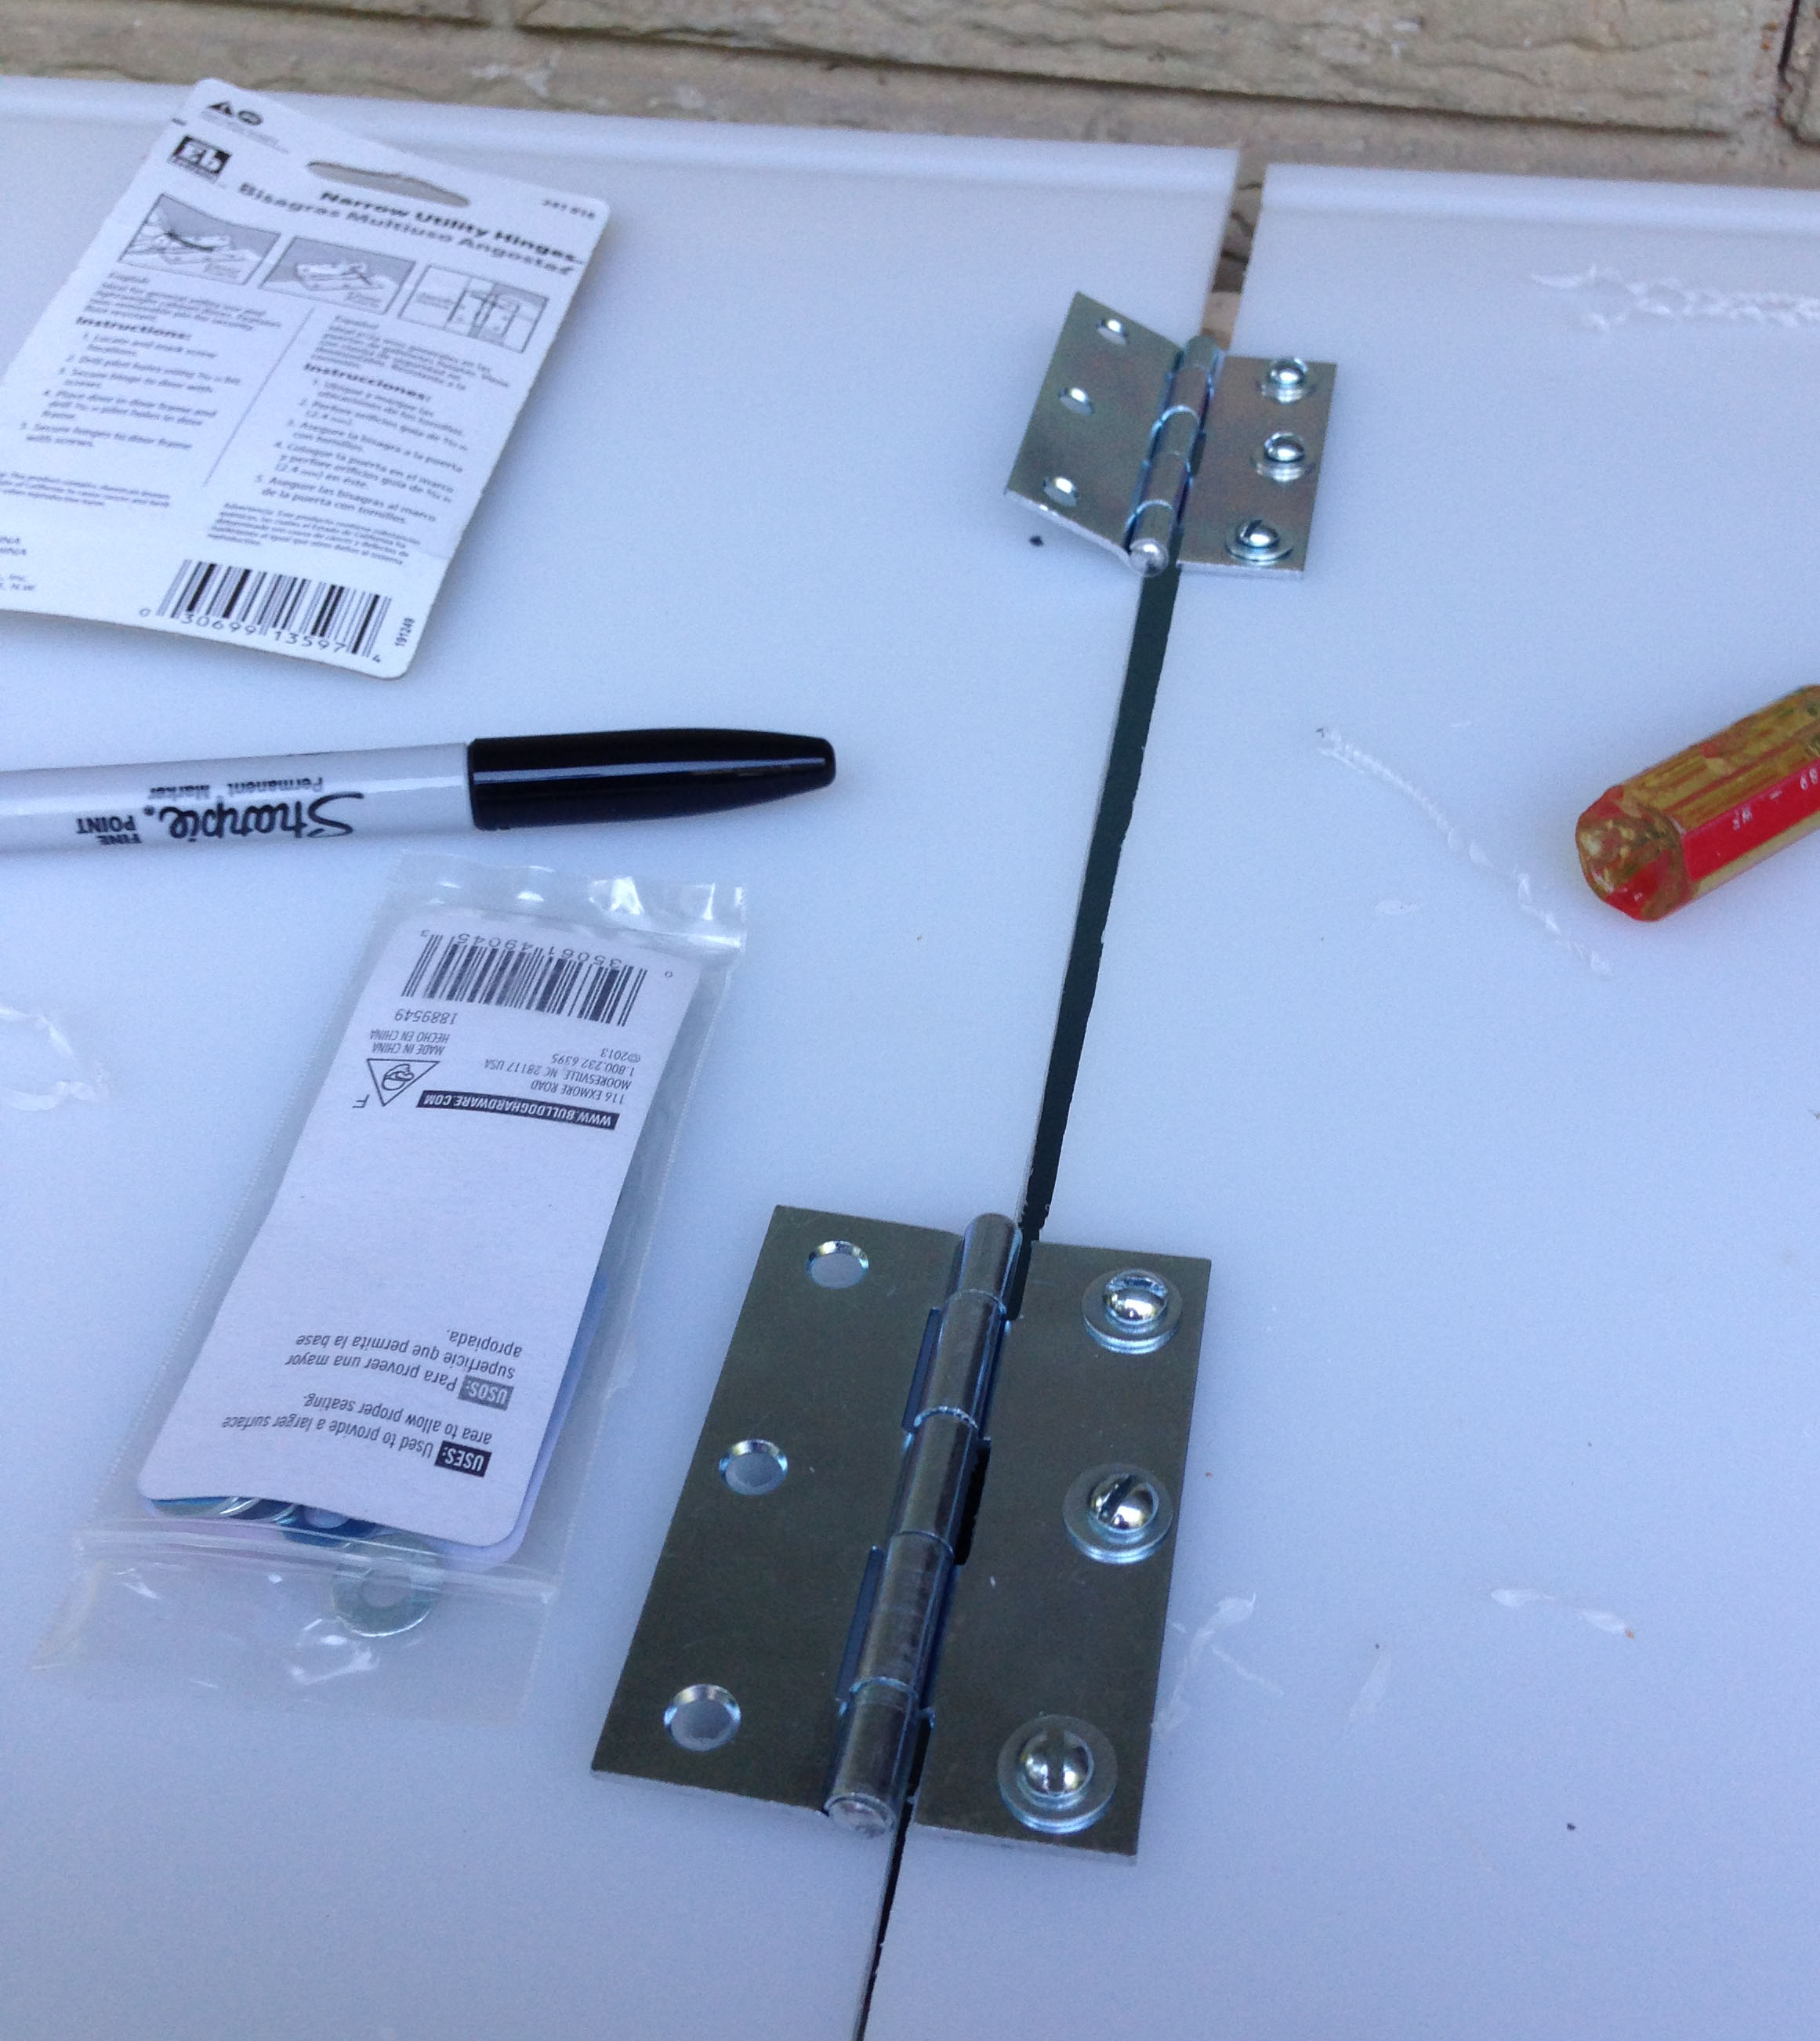
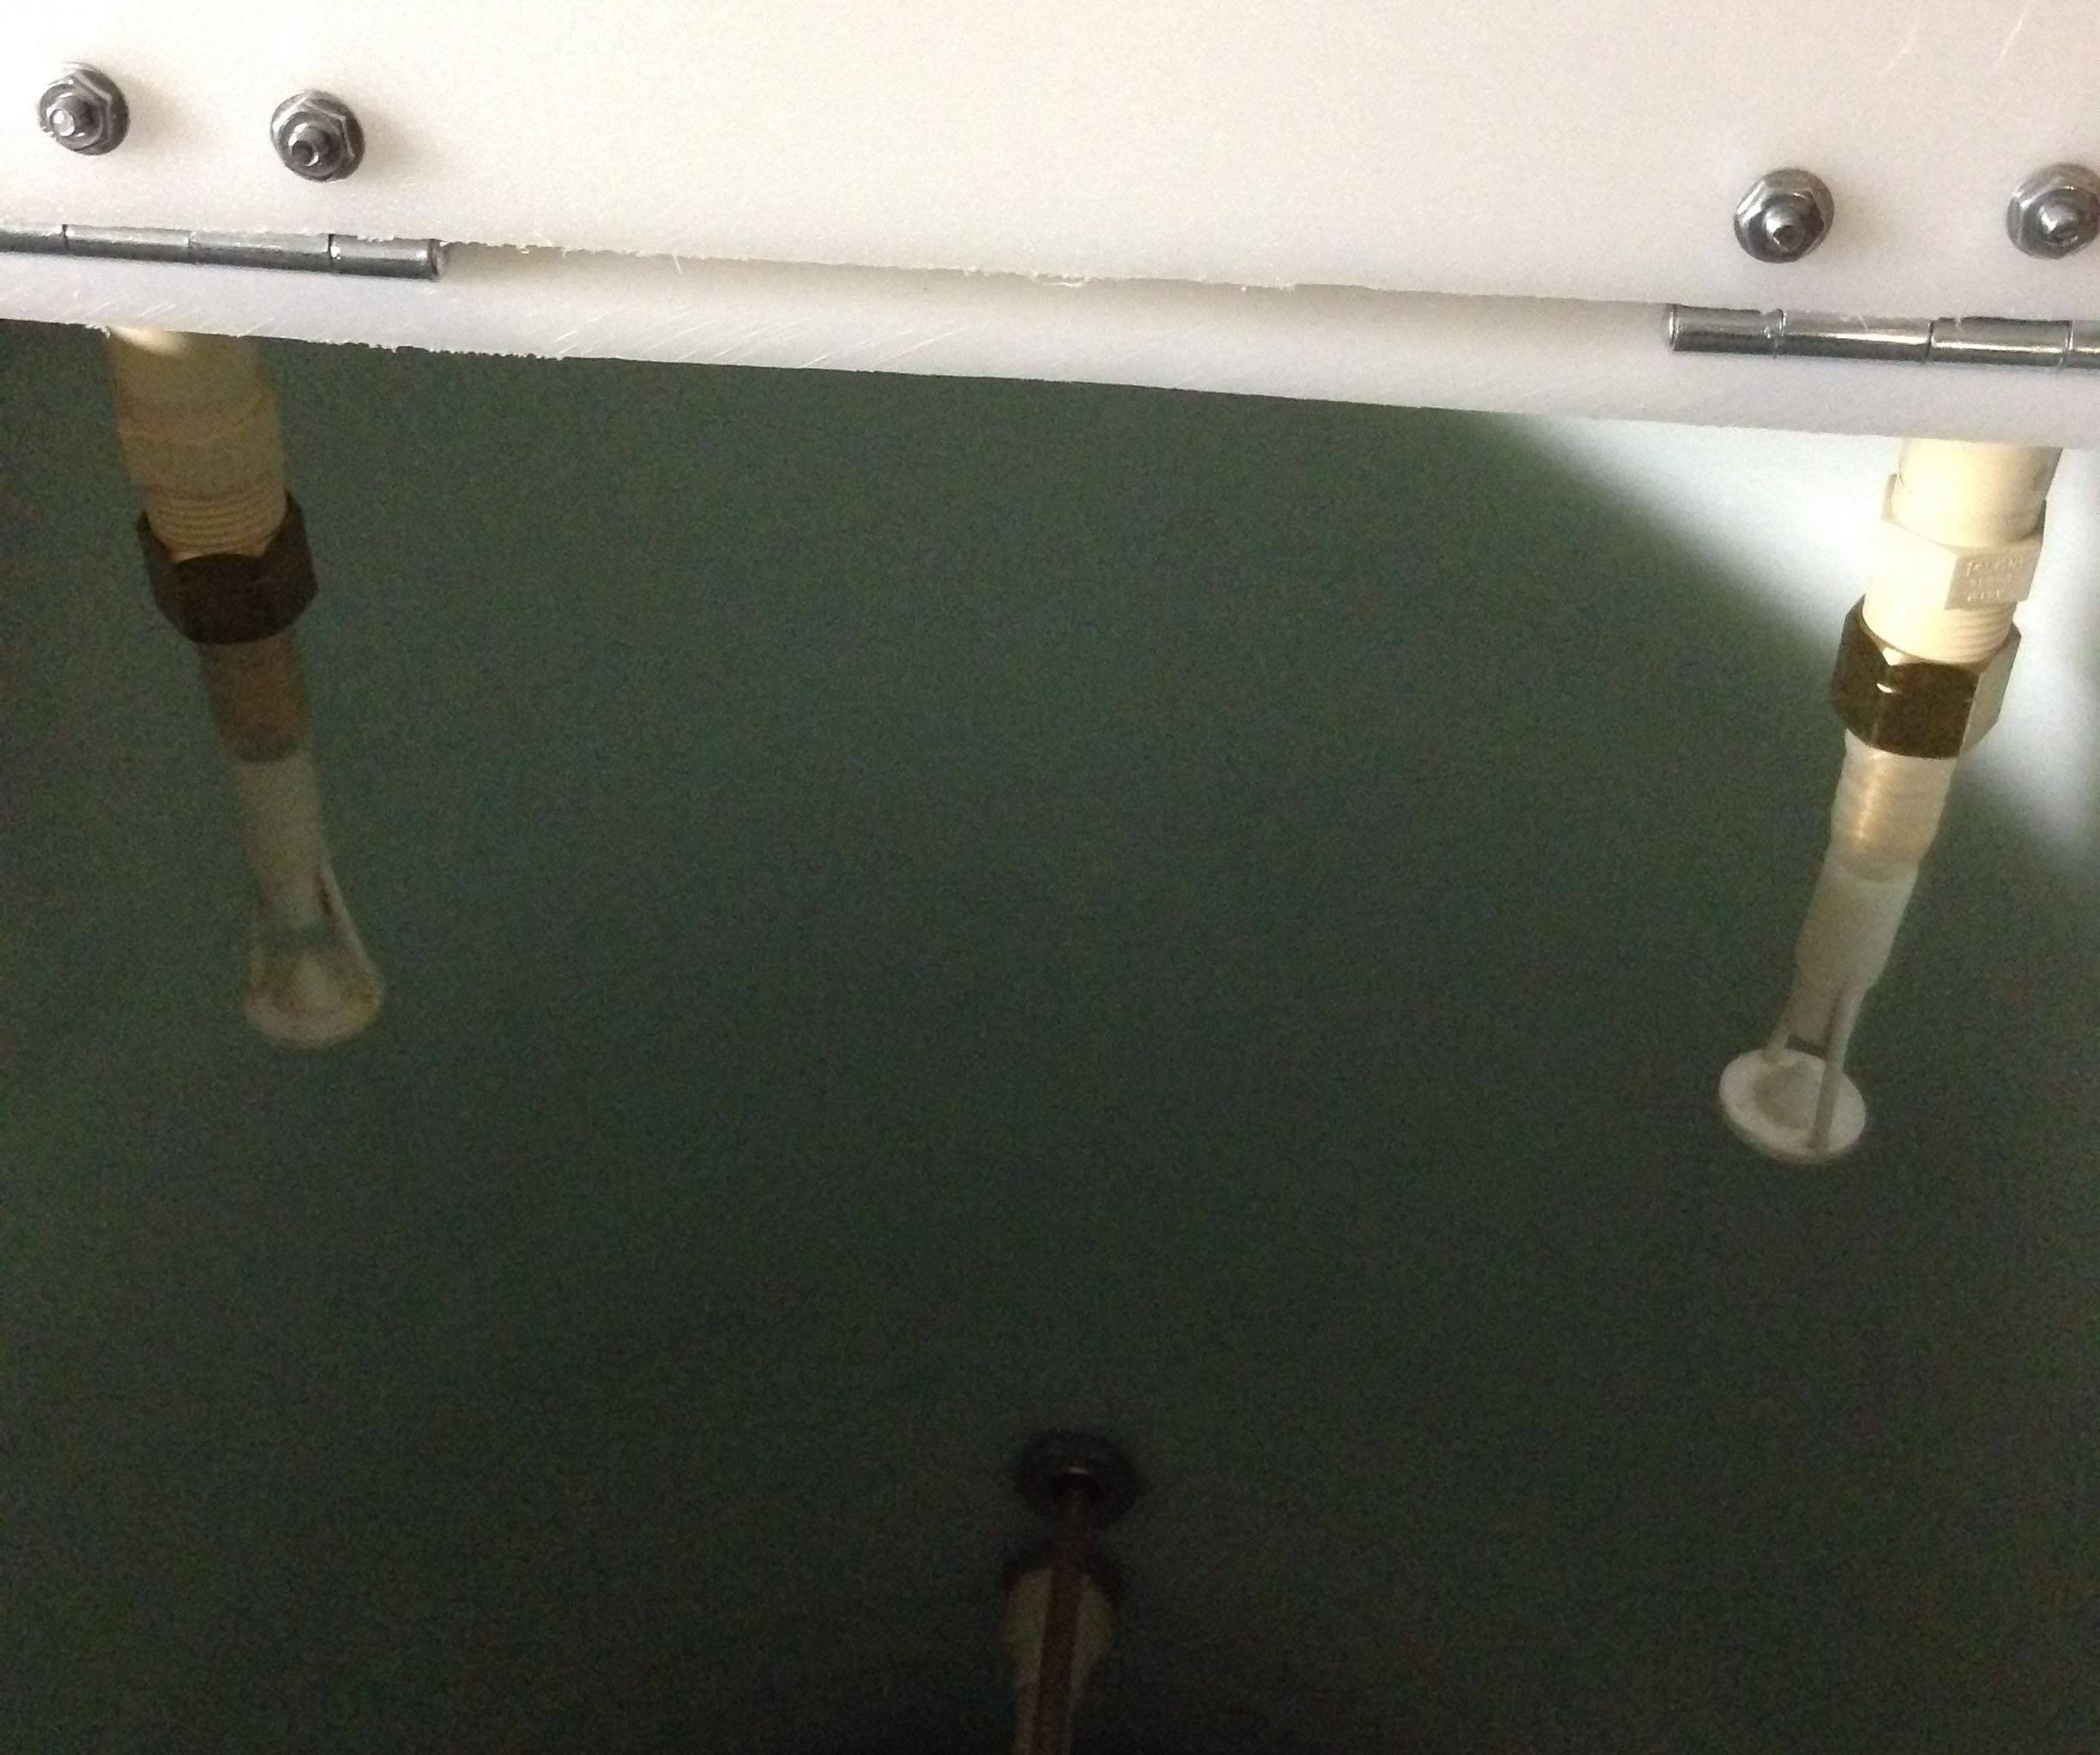
The conjoined cutting boards were then cut to match the size of the wood clad barrel. Unfortunately, a small gap between the two boards does exist. A small bit of weatherproofing foam will cover that gap during mash to help keep hot air from escaping.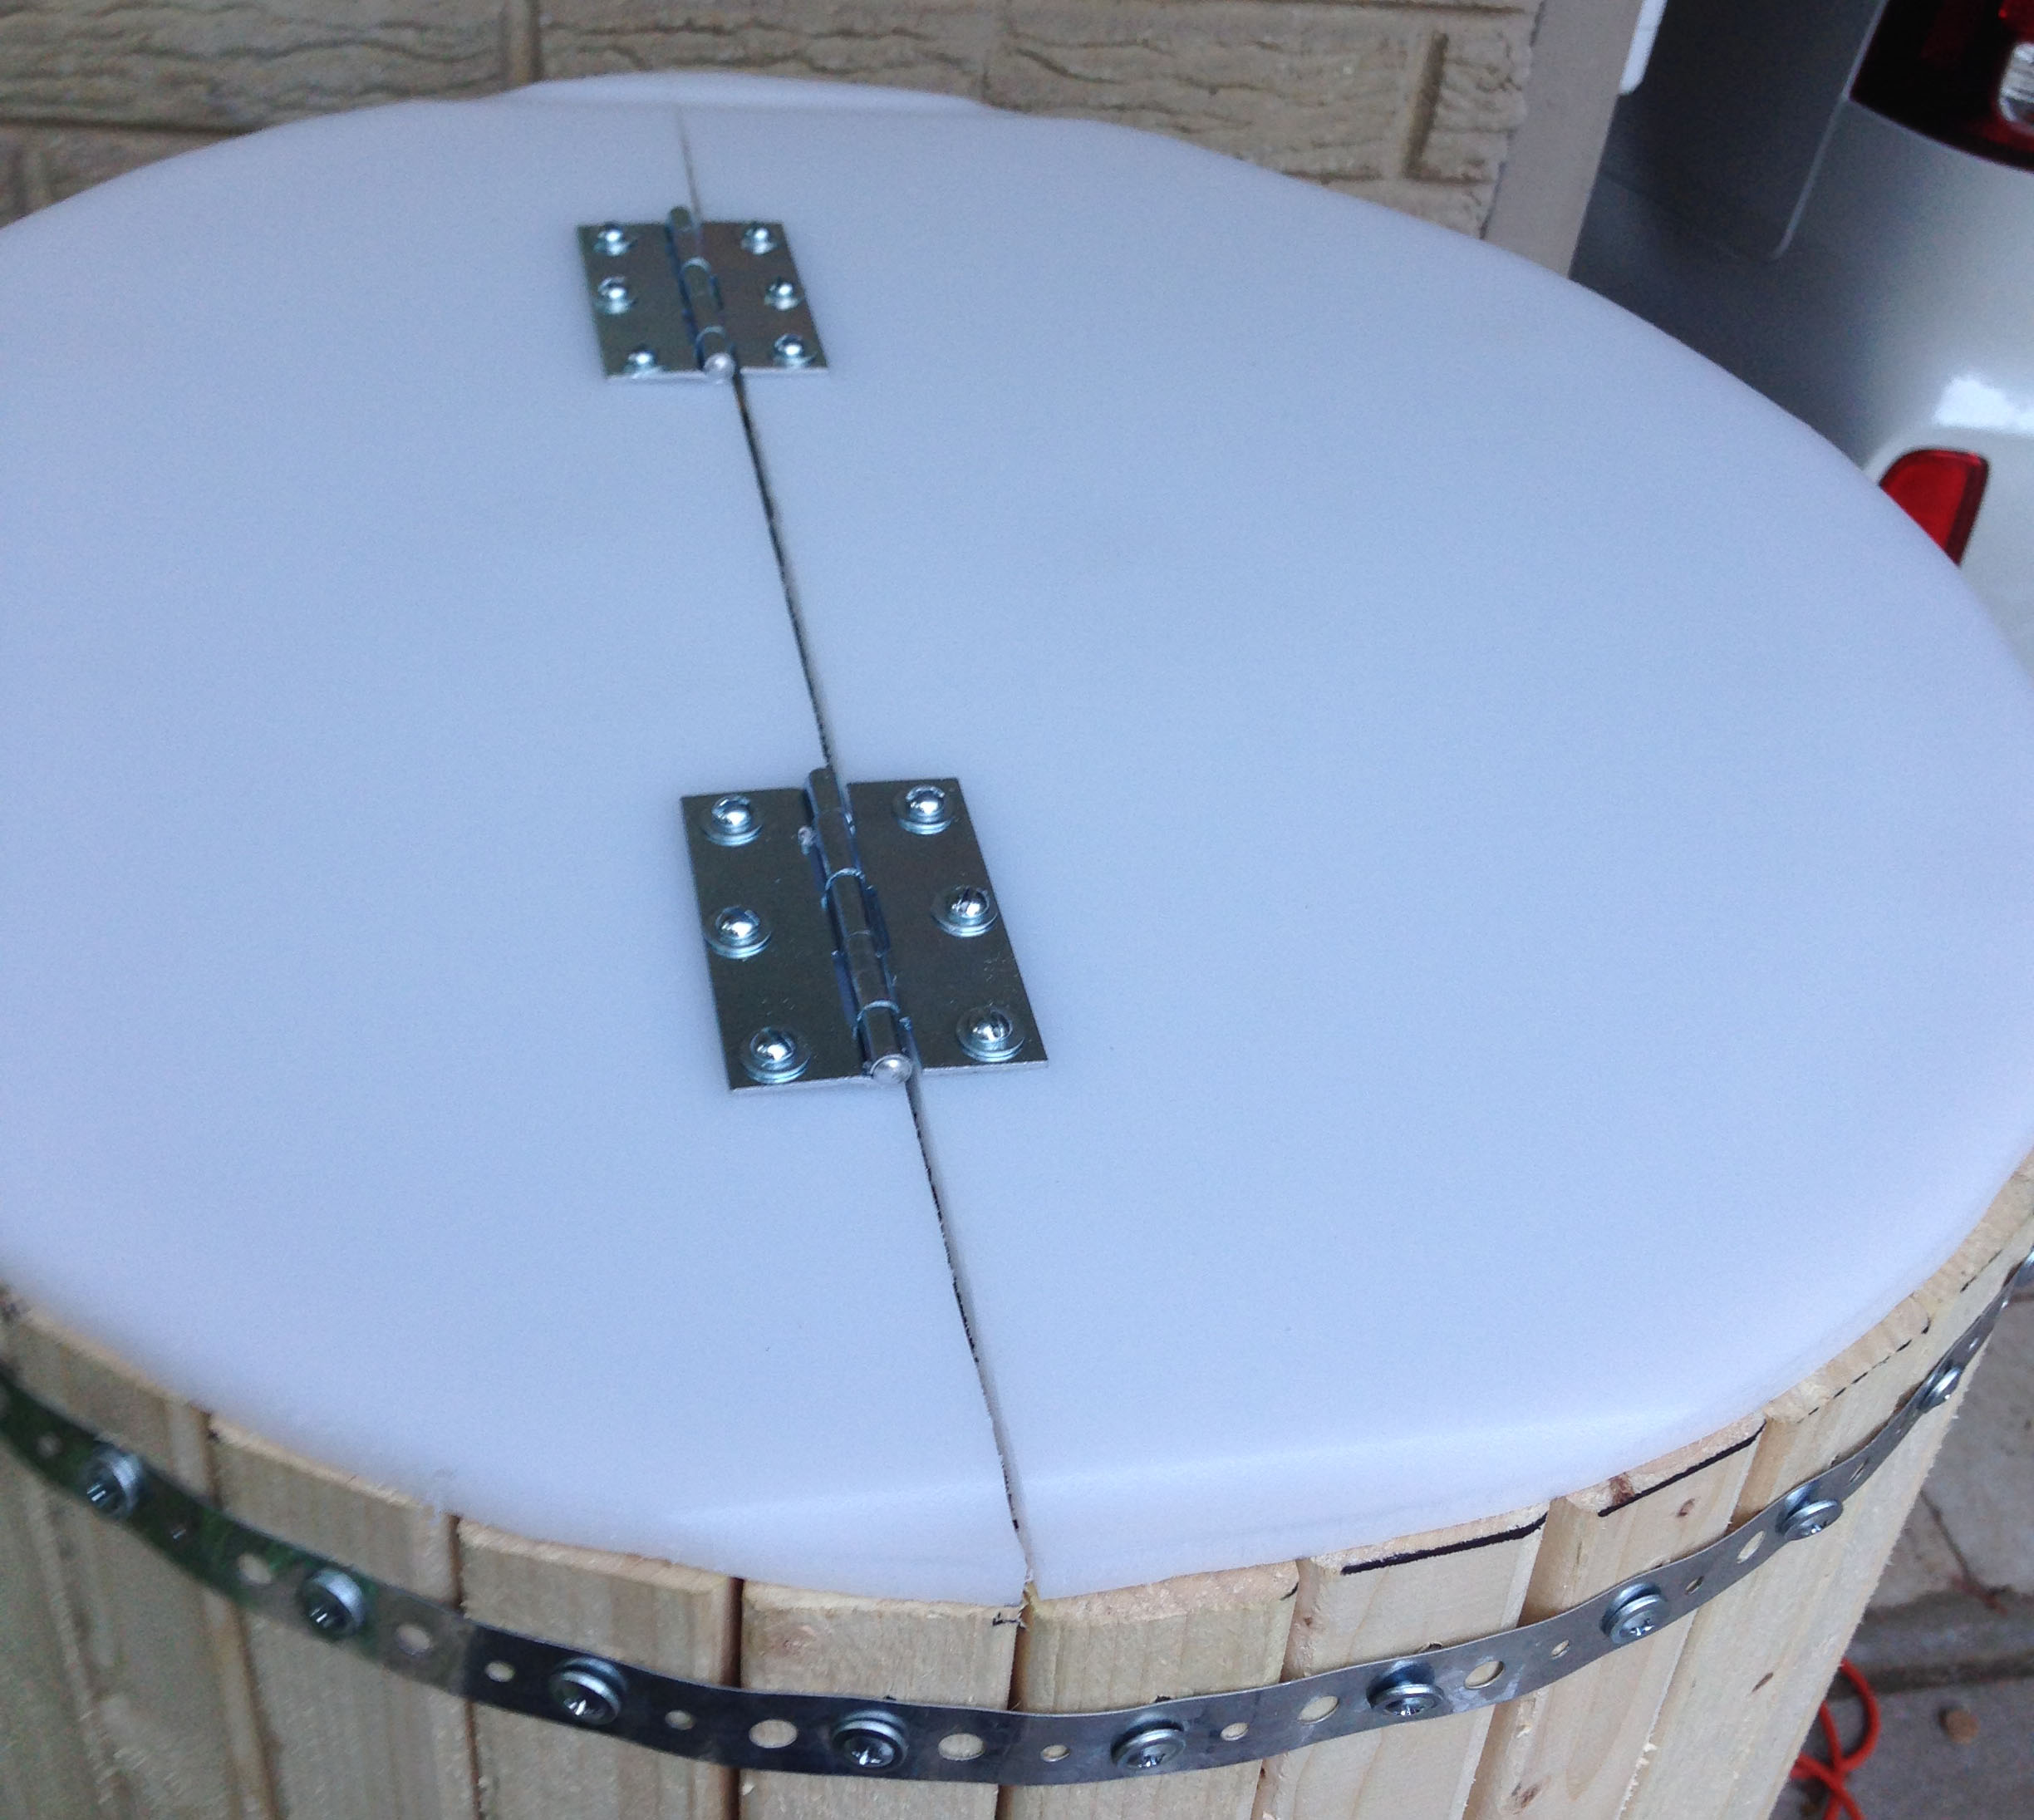
One half of the lid was attached directly to the cladding using angle brackets.

The other side needs to open and close to provide access to the tun, so angle brackets were out of the question. We needed a solution that would hold the lid down, snugly onto our foam insulation. Something secure but easy to open and close. This is the simple solution that I came up with.

Nothing fancy, but it will do the job brilliantly.
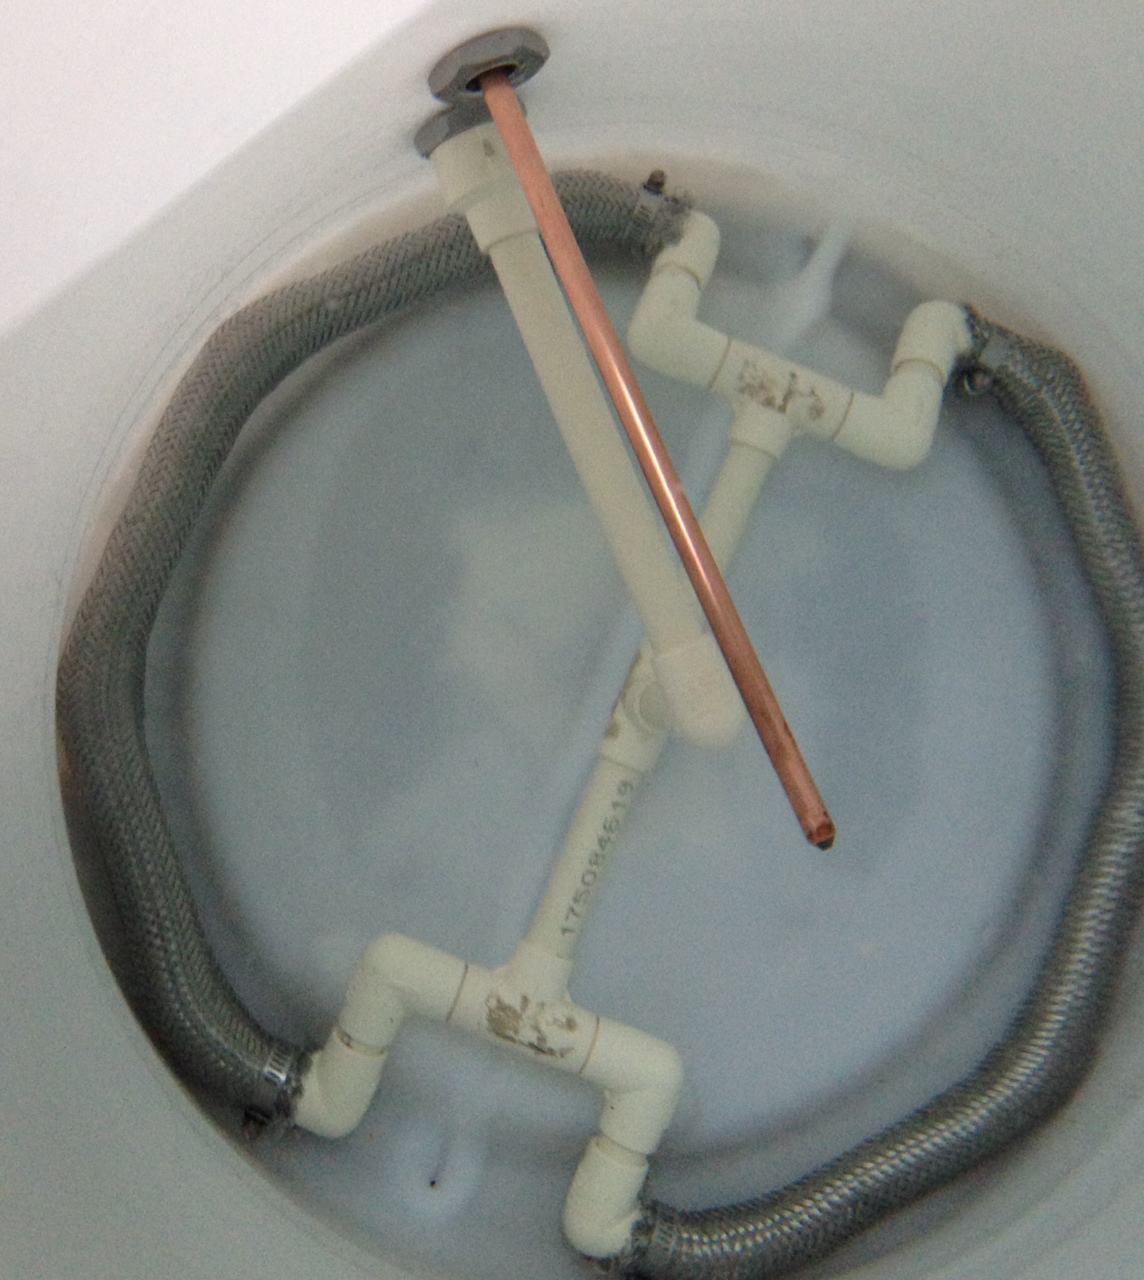
With the lid cut, assembled and installed, the only thing left to address is the inflow plumbing. For that, I whipped up a new version of our Thermal Interchange Manifold. Very similar to the previous version but with a couple new additions.
Valves to control the flow from the hot and recirculation sides of the manifold were added. This will allow us to not only fine tune our wort flow, but will also allow us to shut off one side or the other entirely, which will be super useful during fill up and sparging.
The other key modification, was a move away from the sparge ring we had been using. That ring was attached to the lid of the old cooler MLT, so it would come off with the lid anytime we needed access to the tun, say during mash-in. Since this lid will stay on, we needed a different solution that would could stay in place throughout the brew session, be removable afterwards, not get in the way during mash-in, and would allow us to open the lid any time we needed to without interrupting the process.
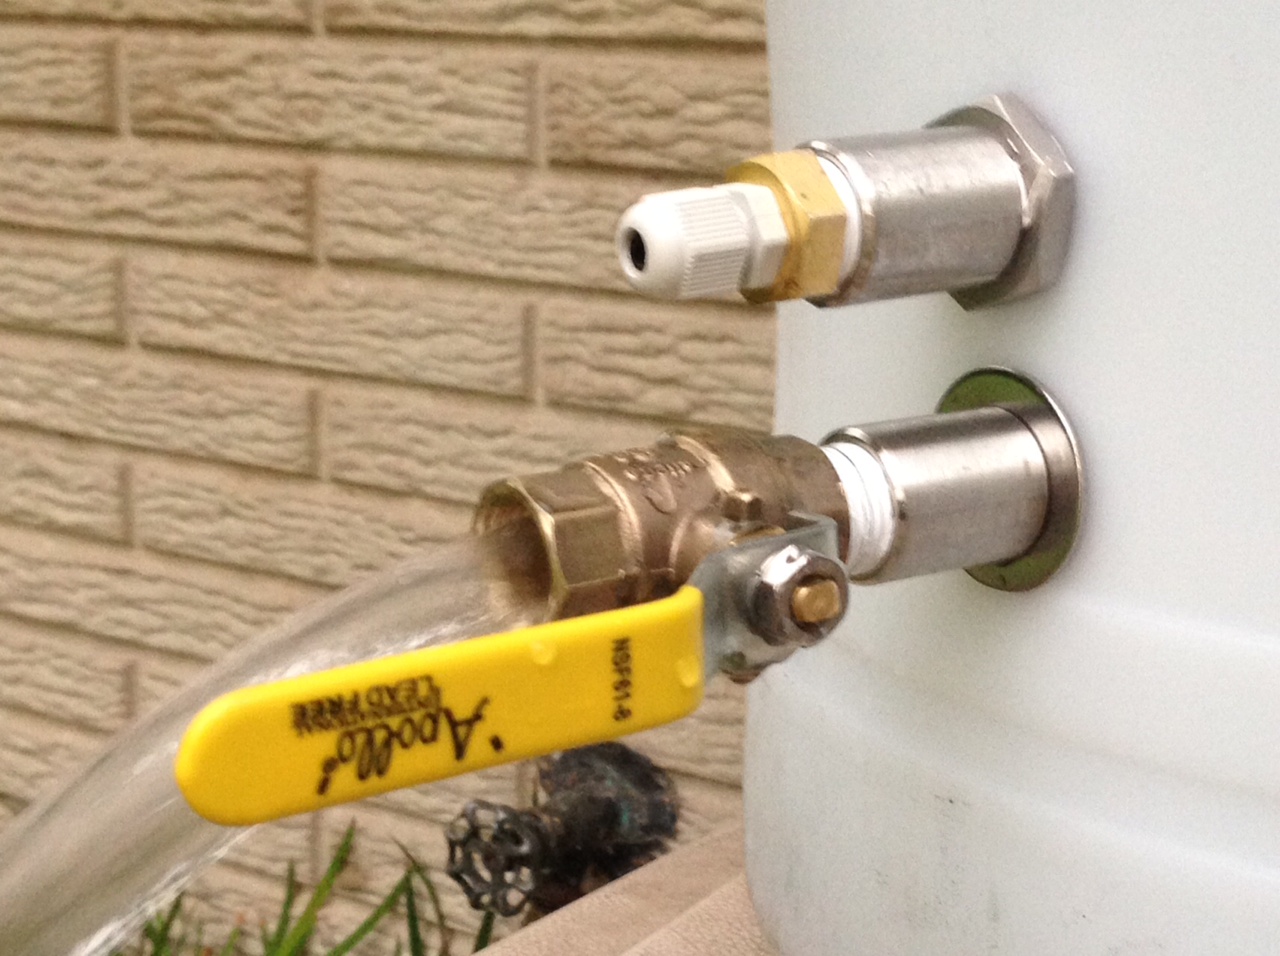
We opted to go with two siphon sprayers. They are small, so they shouldn’t get in the way. Removable, so they can be cleaned. Plus, they are simple. Wort comes out of the tube, spread out, and dissipated evenly onto the wort below.
So that’s that.
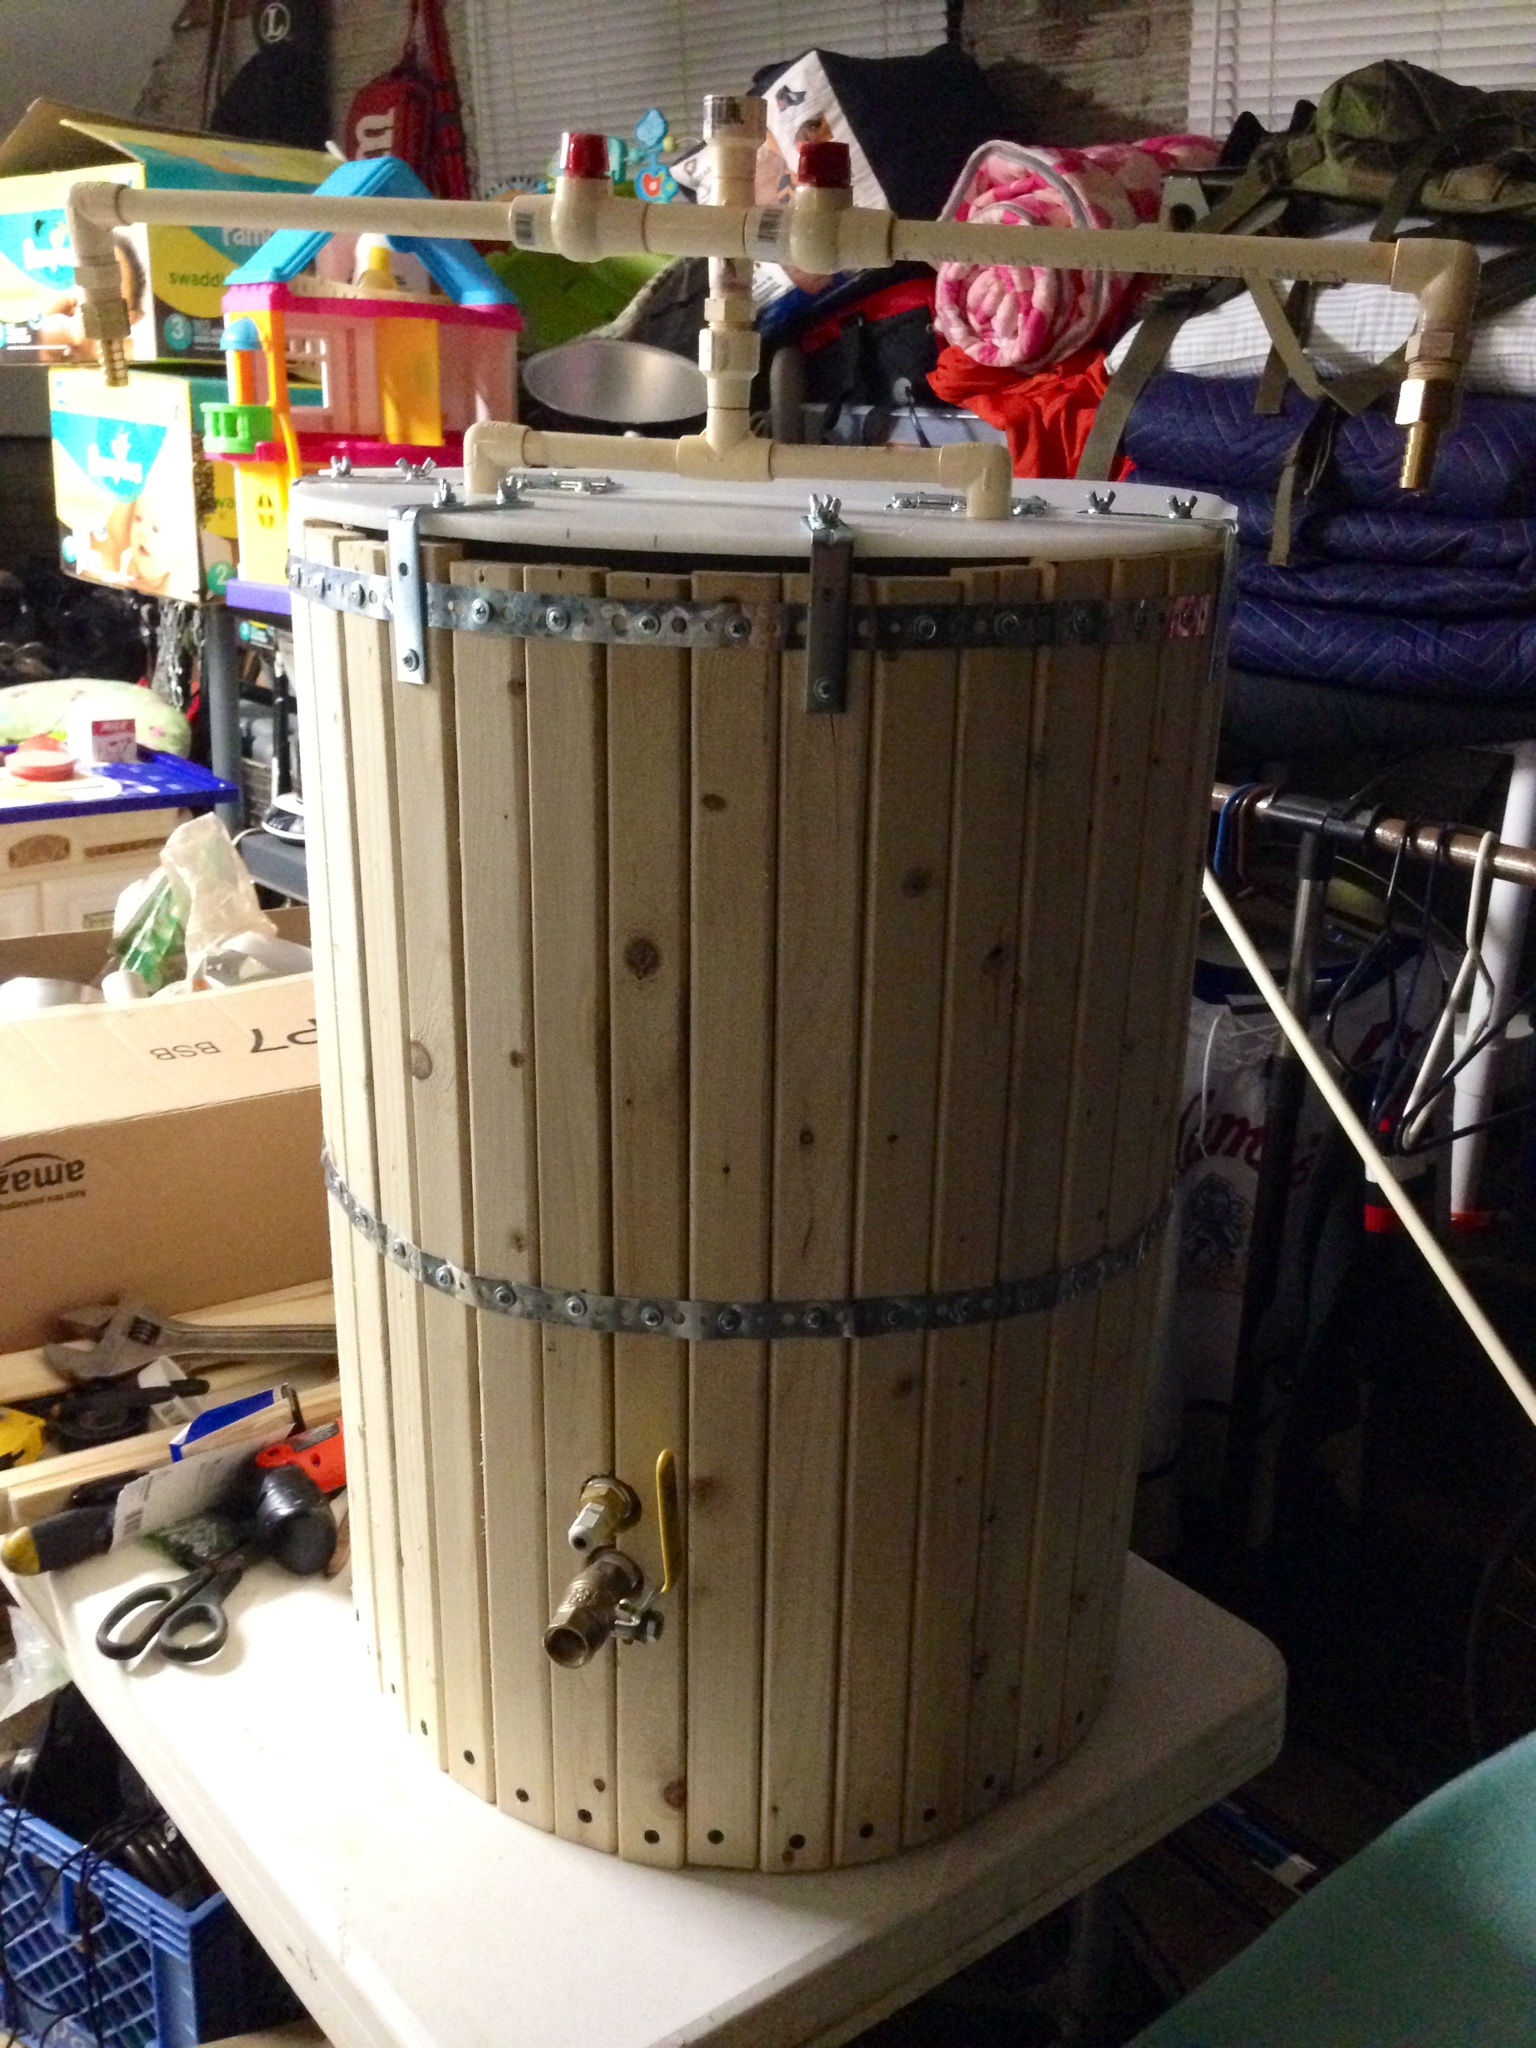
Our fancy new, uber-insulated and wood clad mash tun. Can’t wait to brew with it this Friday.
Once that was done, I decided to turn my attention to our new fermenter. Just had to get a few things from the shed first…
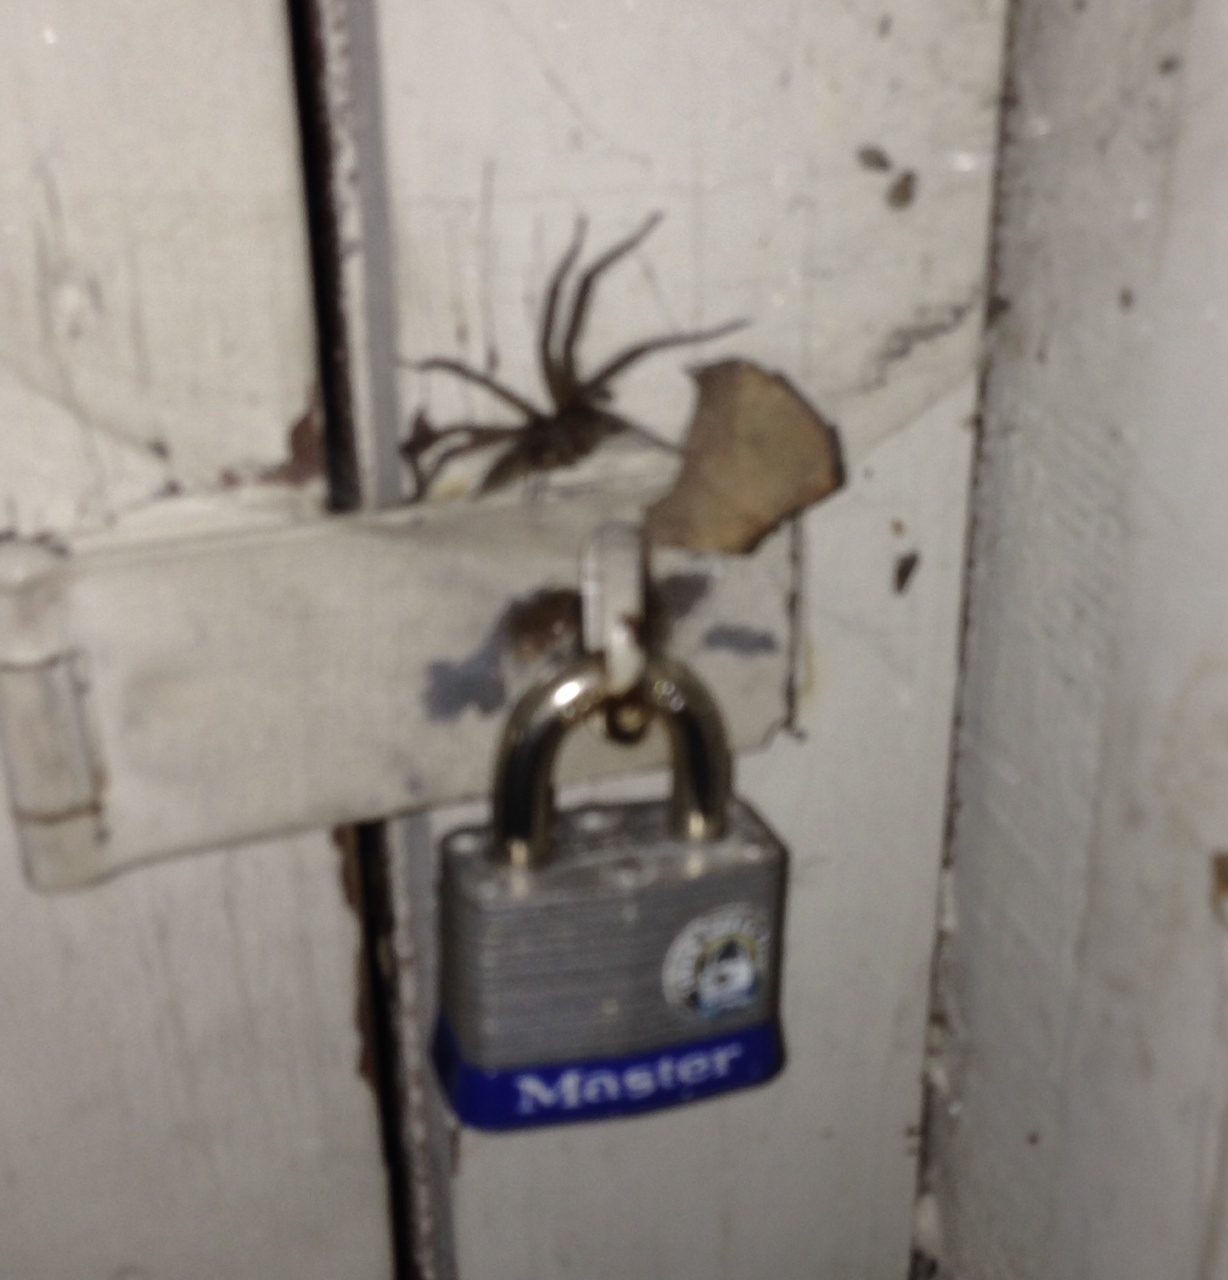
Holy shit balls! On second thought…maybe the fermenter will wait until next week.
Now, if you’ll excuse me…I have a shed to burn down.

Pingback: Fermenting in Style…the Regular Guy way | Regular Guy Brewing
Pingback: Getting in the flow of things… | Regular Guy Brewing